跳到内容
跳到内容 
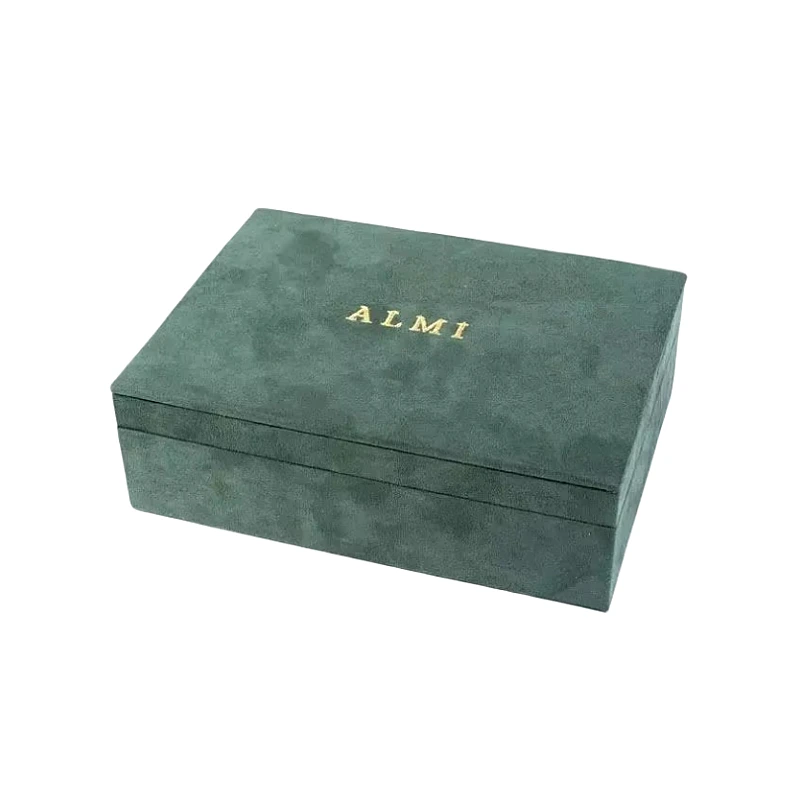
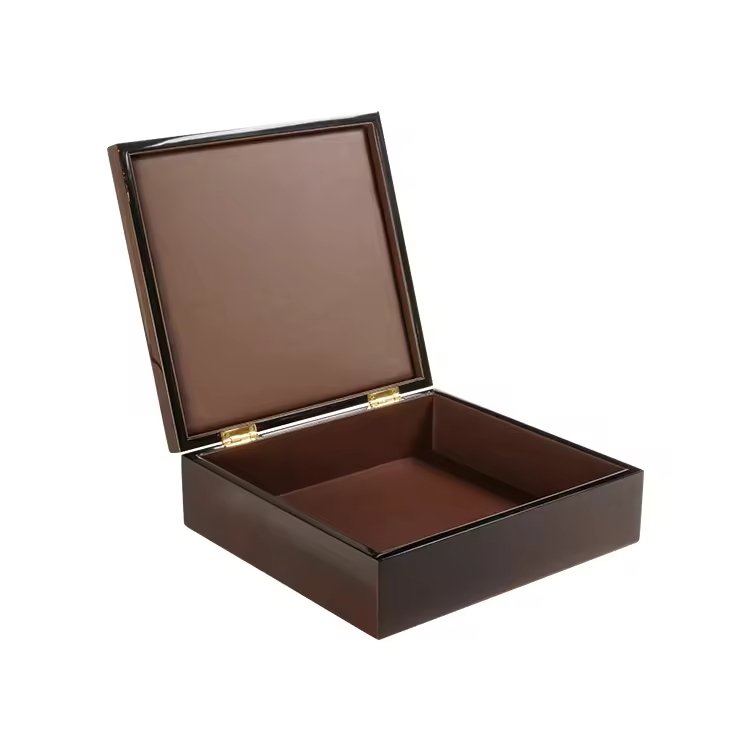
A luxury wine box should feel as refined as the vintage it carries—but if the base isn’t properly sealed before painting, even the best finish can fail. That’s where sanding sealers come in.
The right sanding sealer creates a smooth, stable surface by locking in wood fibers and preventing paint absorption—especially important for high-end wooden wine boxes.
I’ve worked with countless finishes across different wood types. The biggest difference between a premium box and an average one often comes down to what’s beneath the topcoat: a perfectly sealed and sanded foundation.
Why is sanding sealer important for wine boxes before applying the final paint?
Sanding sealer acts as the middle layer between raw wood and your paint system. It prevents over-absorption and gives you a level surface to work on.
Without proper sealing:
- Paint can soak unevenly into soft or open-grain woods
- Surface fibers can rise, creating a rough texture
- Moisture penetration increases the risk of warping
- Final finish lacks consistency and durability
Key Benefits of Using a Sanding Sealer:
- Improves paint adhesion1
- Reduces finish blotchiness
- Enhances surface smoothness
- Minimizes the number of topcoat layers needed
- Stabilizes wood against moisture movement
| Surface Issue | Sealer Solution |
|---|---|
| Uneven paint absorption | Prevents blotching |
| Raised wood grain | Smooths surface post-sanding |
| Color inconsistency | Creates uniform base |
| Paint peeling | Improves bonding layer |
✔ Especially for wine boxes using pine, ash, or oak, a sanding sealer2 is non-negotiable.
We once skipped the sealer on a batch of pine boxes with deep red PU paint. The grain absorbed unevenly, and the finish looked cloudy. We had to respray every box.
What are the differences between water-based, lacquer-based, and shellac sealers?
Each type of sanding sealer has different strengths depending on the wood species, finishing system, and environmental conditions.
1. Water-Based Sanding Sealers3
- Low odor and fast drying
- Eco-friendly and easy cleanup
- Minimal grain raising, but not as rich in tone
Best for: light-colored woods, environmentally conscious production
2. Lacquer-Based Sealers4
- Traditional choice for high-gloss finishes
- Excellent sandability and fast drying
- Strong solvent odor; flammable
Best for: closed-grain woods, high-gloss piano lacquer projects
3. Shellac-Based Sealers5
- Natural resin dissolved in alcohol
- Great at sealing knots, sap, and oily spots
- Amber tint—can warm up wood tone
Best for: hardwoods or antique-style boxes; not ideal under polyurethane
| Sealer Type | Dry Time | Sandability | Best Finish Match |
|---|---|---|---|
| Water-Based | Fast | Good | Acrylic, PU, UV finishes |
| Lacquer-Based | Very fast | Excellent | NC, PU, Piano Lacquer |
| Shellac-Based | Moderate | Fair | Traditional, hand-rubbed |
✔ Always match your sealer to your final topcoat to avoid compatibility issues.
For most of our premium wine boxes finished in piano gloss, we use lacquer-based sealer—it’s fast, sands like butter, and works beautifully under high-gloss systems.
How does the choice of wood type influence the best sanding sealer option?
Different woods absorb sealer differently. Open-grain vs. closed-grain, soft vs. hardwood—it all affects what works best.
Matching Sealer to Wood:
- Open-grain woods6 (oak, ash): Need a heavier body sealer or grain filler
- Softwoods (pine, cedar): Require deeper penetration to block sap/resin
- Closed-grain hardwoods7 (walnut, cherry): Accept most sealers with minimal prep
| Wood Type | Recommended Sealer |
|---|---|
| Pine | Lacquer-based or shellac |
| Oak | Grain filler + lacquer |
| Walnut | Water-based or shellac |
| Ash | Heavier body lacquer |
| MDF/Veneer | Water-based or acrylic sealer |
✔ Always sand between coats to remove raised grain—especially after water-based sealers.
We once applied a water-based sealer on oak without grain filling. After painting, the finish looked like it had micro-pitting. Now we use a filler coat first or switch to a lacquer system for oak.
What are the key steps to applying sanding sealer for a smooth, even surface?
Proper application ensures your topcoat looks flawless. Rushing or skipping steps guarantees problems down the line.
Step-by-Step Process:
- Prep the surface: Sand raw wood to 180–220 grit
- Apply the sealer: Use spray, brush, or wipe-on method depending on formula
- Let it dry: Follow label (usually 30 mins to 2 hours)
- Sand lightly: Use 320–400 grit to remove raised fibers
- Inspect and re-seal (if needed): Apply a second coat if wood still feels rough
- Clean thoroughly: Remove all dust before basecoat application
| Step | Key Tip |
|---|---|
| Application | Use even coats—avoid flooding grain |
| Drying | Ensure full dry before sanding |
| Sanding | Use fine grit and avoid burn-through |
| Dust removal | Use air gun and tack cloth |
✔ Don’t apply sealer in high humidity—it affects dry time and adhesion.
We had one technician rush the drying step due to a tight deadline. The paint later cracked during curing because the sealer underneath wasn’t fully dry. That mistake cost us days.
How many coats of sealer are ideal before painting luxury wine packaging?
Most projects only need 1–2 coats of sanding sealer8, but it depends on wood type, finish style, and how smooth you want the surface to be.
General Guidelines:
- Softwoods: 2 coats recommended
- Hardwoods / Veneer: Usually 1 coat is enough
- Open-grain woods: Combine with grain filler + 1 coat
- For piano finish9: 2 coats minimum, with sanding between
| Surface Goal | Sealer Coats |
|---|---|
| Smooth PU paint | 1–2 |
| Gloss lacquer | 2–3 (with filler) |
| Matte painted MDF | 1 |
✔ Don’t overbuild layers—too much sealer can reduce paint bonding.
On a batch of walnut veneer wine boxes, we tested 1 vs. 2 coats of sealer. The second coat gave a noticeably smoother topcoat finish with less orange peel risk.
Can the wrong sealer affect paint adhesion or long-term durability in humid environments?
Yes. A poorly chosen or improperly cured sealer can cause finish failure—especially in environments like wine cellars or coastal shipping routes.
Common Issues:
- Paint delamination from incompatible sealer (e.g., shellac under PU)
- Bubbling or wrinkling from under-cured layers
- Moisture intrusion if the sealer fails to fully block pores
- Yellowing from low-quality sealers in UV exposure
Best Practices:
- Match sealer to paint chemistry (PU-on-PU, etc.)
- Ensure full dry and sand before topcoat
- Use moisture-resistant sealers10 for high-humidity environments
- Store sealed boxes in controlled climate before painting
| Sealer Mistake | Risk Outcome |
|---|---|
| Wrong product pairing | Peeling or cracking |
| Not sealing pine knots | Resin bleed-through |
| Over-sealing | Topcoat adhesion issues |
✔ When in doubt, test on sample wood from the actual batch to ensure compatibility.
For humid-region clients, we always use high-build PU-compatible sealers11 with anti-fungal additives. It adds a day to the workflow but saves headaches down the line.
Conclusion
Sanding sealer isn’t just a base layer—it’s the foundation for how your wine box will look, feel, and age. Get it right, and everything above it shines. Get it wrong, and no topcoat can hide it.
To ensure the best result:
- Choose the right sealer type based on wood and paint system
- Prepare and sand carefully before and between coats
- Use 1–2 coats for best smoothness and paint adhesion
- Test compatibility for long-term durability, especially in humid climates
Because luxury packaging starts long before the final coat—it starts in the layers you don’t see.
Brand Name: WoodoBox
Slogan: Custom Wooden Boxes, Crafted to Perfection
Website: www.woodobox.com
PU-compatible sealers and how they can enhance your painting projects, especially in challenging environments.
Conclusion
Sanding sealer isn’t just a base layer—it’s the foundation for how your wine box will look, feel, and age. Get it right, and everything above it shines. Get it wrong, and no topcoat can hide it.
To ensure the best result:
- Choose the right sealer type based on wood and paint system
- Prepare and sand carefully before and between coats
- Use 1–2 coats for best smoothness and paint adhesion
- Test compatibility for long-term durability, especially in humid climates
Because luxury packaging starts long before the final coat—it starts in the layers you don’t see.
Brand Name: WoodoBox
Slogan: Custom Wooden Boxes, Crafted to Perfection
Website: www.woodobox.com
-
Discover how sanding sealer can significantly enhance paint adhesion, leading to a more professional and lasting finish. ↩ ↩
-
Understanding the role of sanding sealer can enhance your woodworking projects, ensuring better finishes and durability. ↩ ↩
-
Explore the advantages of water-based sanding sealers, including their eco-friendliness and suitability for light-colored woods. ↩ ↩
-
Learn about lacquer-based sealers, their traditional use in high-gloss finishes, and why they are favored for closed-grain woods. ↩ ↩
-
Discover the unique properties of shellac-based sealers, including their natural resin composition and suitability for antique-style projects. ↩ ↩
-
Explore this link to understand the best sealing options for open-grain woods like oak and ash, ensuring a flawless finish. ↩ ↩
-
Discover effective sealing techniques for closed-grain hardwoods such as walnut and cherry to achieve a smooth, professional look. ↩ ↩
-
Understanding the best practices for sanding sealer application can enhance your painting results and surface quality. ↩ ↩
-
Exploring the process for achieving a piano finish can help you achieve a high-gloss, professional look for your wine packaging. ↩ ↩
-
Explore this link to discover top-rated moisture-resistant sealers that ensure durability and prevent paint failure in humid conditions. ↩ ↩
-
Learn about high-build PU-compatible sealers and how they can enhance your painting projects, especially in challenging environments. ↩ ↩