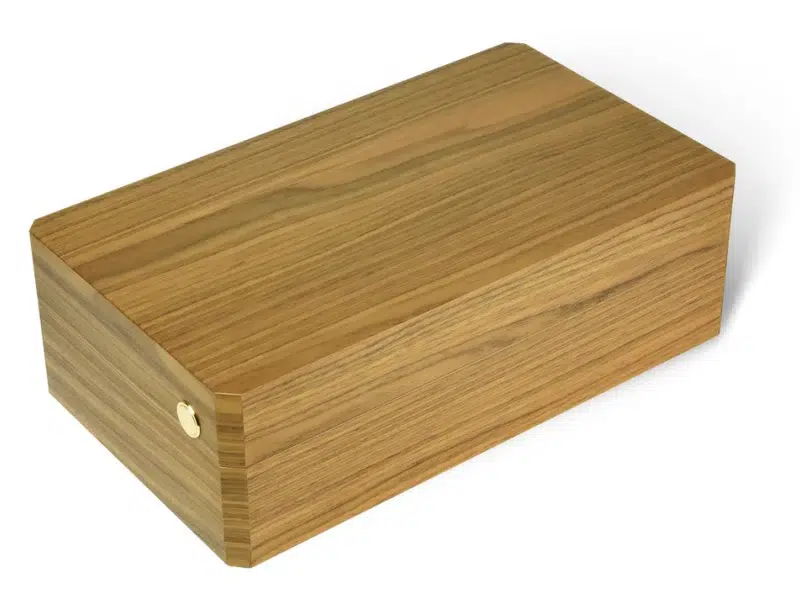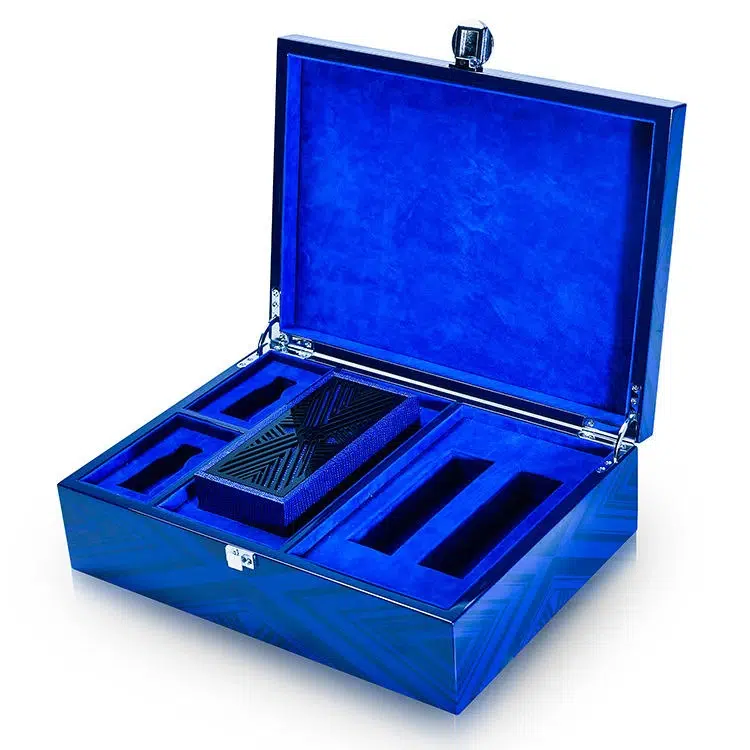
Gradient finishes add softness, depth, and artistic flair to wooden jewelry boxes—but they demand precision, patience, and the right tools to achieve consistently elegant results.
The best way to apply ombre finishes is by combining careful spray technique, color layering, and compatible finishes that allow smooth blending on wood grain.
After years of experimenting with fades and color transitions for custom packaging clients, I’ve developed a few go-to techniques to make every gradient finish flawless and lasting.
What tools and techniques are commonly used for creating smooth color transitions on wood?
Creating a visually smooth gradient—especially on wood—requires atomized application, layered control, and gradual build-up of color intensity.
Recommended Tools:
- HVLP spray guns1 for broad, even gradients on large panels
- Airbrushes2 for delicate fades or detailed transitions
- Soft blending pads or cloths3 for stain-based gradients
- Custom stencils or masking tools to define boundaries or block overspray
Basic Application Techniques:
- Spray light-to-dark (or vice versa) in overlapping passes
- Build up multiple thin coats rather than a single heavy spray
- Adjust distance and angle to control intensity
- Feather edges with lower pressure and wider fan width
| Tool | Best Use Case |
|---|---|
| HVLP spray gun | Full-surface ombre on lids and panels |
| Airbrush | Spot gradients, transitions on edges |
| Blending cloth | Stain-based transitions, rustic look |
✔ Always test transitions on scrap wood first—wood color and porosity will affect how pigments sit.
For a luxury brand’s lilac-to-plum ombre box, we layered three tones with soft HVLP transitions, finishing each blend area with a light mist pass to even out the gradient band.
How does wood grain affect the look and application of gradient finishes?
Wood is an organic canvas. Its texture, pores, and natural color all influence how the gradient appears and how easily it can be blended.
Key Grain Considerations:
- Open-grain woods4 (oak, ash) may absorb pigment unevenly, causing blotchy transitions
- Closed-grain woods5 (maple, birch) are smoother and better for sprayed blends
- Pronounced grain patterns can visually interrupt the gradient flow
- Natural wood color will show through transparent gradients
| Wood Type | Gradient Suitability |
|---|---|
| Maple | Excellent – smooth, closed grain |
| Walnut | Good – warm undertone, but strong grain |
| Oak | Fair – requires sealing, absorbs stain quickly |
| MDF + veneer | Best for even painted gradients |
Best Practices:
- Use a neutral base coat (e.g., white or tinted primer) to mute wood tone before painting
- Sand and seal grain to avoid pigment soaking into pores unevenly
- Apply a clear sealer between stain layers if using dyes
✔ Avoid raw wood surfaces for painted gradients—they absorb too much pigment and kill the soft fade.
For ash boxes, we often apply a base filler coat to level the grain before any gradient work. This gives a smooth surface for color layering without absorbing inconsistently.
Should you use spray guns, airbrushes, or hand techniques for best ombre results?
The choice of tool depends on the scale of the fade, the desired effect, and the type of coating used.
Spray Guns (HVLP):
- Best for large, soft transitions6 across lids and side panels
- Offers consistent atomization and smooth blending
- Requires masking for sharp directional gradients
Airbrush:
- Perfect for detailed or compact fades7, like corners or logo fades
- Excellent control for feathering edges or adding light color fogging
- Slower coverage, not ideal for full box coating
Hand Application (Rags or Brushes):
- Used mostly with stain or dye-based finishes
- Produces a rustic or textured ombre8, not a true spray fade
- Hard to achieve smooth transitions without brush marks
| Technique | Gradient Smoothness | Best Use |
|---|---|---|
| HVLP Spray Gun | Excellent | Full surface fade |
| Airbrush | Very fine | Accent fading |
| Hand-stain blend | Moderate | Rustic finishes |
✔ For high-end, modern luxury, sprayed gradients give the cleanest, most professional results.
We often use both tools—HVLP for the body, then airbrush around edges to blend transitions into corners seamlessly.
What type of paint or stain works best for layering soft gradient effects?
Choosing the right pigment system is critical—some paints blend naturally, others dry too fast or create banding.
Best Options:
- Water-based acrylic paints9: blend well, dry evenly, ideal for layering
- PU basecoat + color toners10: give more durability for luxury finishes
- Solvent-based dyes or stains11: good for transparent ombres over wood grain
- Metallic lacquer systems: add shimmer, but require extra care in overlap
| Coating Type | Gradient Suitability | Comments |
|---|---|---|
| Acrylic (water-based) | Excellent | Best for beginners, easy cleanup |
| PU basecoats | Excellent | Durable, needs experience |
| Stain/dye | Moderate–Good | Good on sealed wood |
| NC lacquer | Moderate | Fast drying, harder to blend |
✔ Always thin coats to improve blending. Use retarders or slow-dry additives for solvent-based systems.
For a champagne-to-rose ombre, we used acrylic pigment over white PU primer, then finished with high-gloss PU topcoat. The fade was flawless and shimmered under light.
How do you control drying times and blending to avoid harsh color lines?
Smooth gradients depend on controlled layering12 and a careful balance between wet and dry areas. Too fast, and the paint lines will set before you can blend.
Blending Techniques:
- Work wet-on-wet: Keep overlapping areas moist to allow color mixing
- Use retarder additives13 to extend open time in hot or dry conditions
- Apply mist passes at transition zones to soften edges
- Use fan pattern overlap instead of linear fades for smoother results
- Avoid excessive spraying at one end—build up layers gradually
| Problem | Solution |
|---|---|
| Harsh transition lines | Mist with lighter color and blend again |
| Overspray blotches | Feather edge with dry gun pass |
| Too dry to blend | Use retarder or adjust spray sequence |
✔ Always plan your gradient from light to dark—lighter colors are easier to adjust over time.
In summer, we increase retarder ratio by 5–10% to give the painter more time for smooth gradients14 without drying blotches.
What finishing coats can protect and enhance the gradient effect over time?
Your gradient is only as good as its final layer. A proper clear topcoat locks in the fade, deepens the color transition, and protects it from fading or wear.
Recommended Topcoats:
- Clear PU (Polyurethane) Gloss or Matte15: Adds depth, very durable
- UV Clear Coat16: High hardness, best for production-scale consistency
- Soft-touch matte PU: Great for tactile luxury and subtle gradients
- Acrylic Clear: Good for hobbyist-level boxes or quick topcoating
Tips for Gradient Topcoating:
- Use non-yellowing clear coats17 for light-tone gradients
- Avoid too high a gloss if you want to maintain a soft look
- Spray topcoat in thin, even layers—don't flood or overbuild, which can flatten the gradient
| Topcoat Type | Gloss Effect | Fade Enhancement |
|---|---|---|
| PU Gloss | Deep, reflective | Maximizes color richness |
| PU Matte | Soft, elegant | Best for muted tones |
| UV High Gloss | Strong protection | Requires pro setup |
✔ Buff final surface lightly if needed—especially on matte—after full cure (48–72 hours).
Our favorite is PU matte topcoat for soft ombres—especially on rosewood or birch veneer. It preserves the visual gradient and feels smooth to the touch.
Conclusion
Gradient or ombre finishes make a jewelry box feel like a work of art—but only if the application is clean, consistent, and protected.
To master the technique:
- Use HVLP or airbrush for fine, even transitions
- Work on closed-grain or well-sealed surfaces for smoother blending
- Use water-based or PU-compatible pigment systems with controlled drying
- Layer gradually and avoid harsh overlaps
- Protect with a clear, durable topcoat that enhances the fade
Because when a gradient is done right, the box doesn't just hold jewelry—it becomes one.
Brand Name: WoodoBox
Slogan: Custom Wooden Boxes, Crafted to Perfection
Website: www.woodobox.com
-
Explore this link to understand how HVLP spray guns can enhance your wood finishing projects with smooth gradients and even application. ↩
-
Discover the precision of airbrushes in achieving intricate color transitions on wood surfaces, perfect for detailed work. ↩
-
Learn effective techniques for using blending pads to achieve beautiful, rustic wood stain transitions that elevate your projects. ↩
-
Understanding open-grain woods can help you achieve better results with gradient finishes by knowing how they absorb pigments. ↩
-
Exploring closed-grain woods will provide insights into achieving smoother gradient applications and better blending techniques. ↩
-
Explore this link to understand how spray guns can achieve stunning large, soft transitions in your projects. ↩
-
Discover techniques for using airbrushes to create intricate and compact fades, perfect for your artistic needs. ↩
-
Learn about hand application methods that produce unique rustic or textured ombre effects for your projects. ↩
-
Explore the advantages of water-based acrylic paints for achieving smooth gradient effects in your projects. ↩
-
Learn how PU basecoats and color toners can provide a luxurious finish and increased durability for your painting projects. ↩
-
Discover the best techniques for applying solvent-based dyes to achieve stunning transparent ombre effects on wood surfaces. ↩
-
Understanding controlled layering can enhance your painting skills, ensuring smoother gradients and better color transitions. ↩
-
Exploring retarder additives will help you learn how to extend drying times, allowing for better blending and smoother finishes. ↩
-
Discovering techniques for smooth gradients can elevate your artwork, making your color transitions seamless and professional. ↩
-
Explore the advantages of Clear PU topcoats to enhance your gradient finishes and ensure durability. ↩
-
Learn how UV Clear Coats provide high hardness and consistency for your gradient projects. ↩
-
Discover the importance of non-yellowing clear coats to maintain the integrity of light-tone gradients over time. ↩


