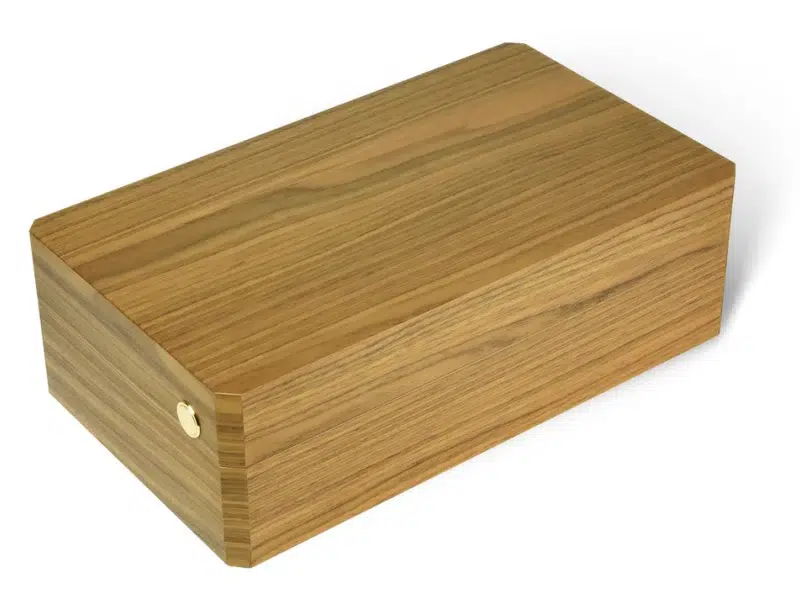
Glossy or matte? For premium perfume packaging, the answer can be both—if used with intention. When combined correctly, mixed finishes create a high-end visual contrast that speaks to craftsmanship and luxury.
To achieve a refined contrast of matte and glossy finishes on the same wooden perfume box, you need precise masking, compatible coatings, and a strategic design plan.
Over the years, I’ve worked on many perfume box projects where this subtle contrast made all the difference. Here's how we combine these finishes without compromising quality or consistency.
What design elements should be matte vs. glossy to create luxury contrast?
The placement of glossy and matte elements should never feel random. Each finish serves a visual and tactile purpose—and when used strategically, they elevate the brand.
Effective Combinations:
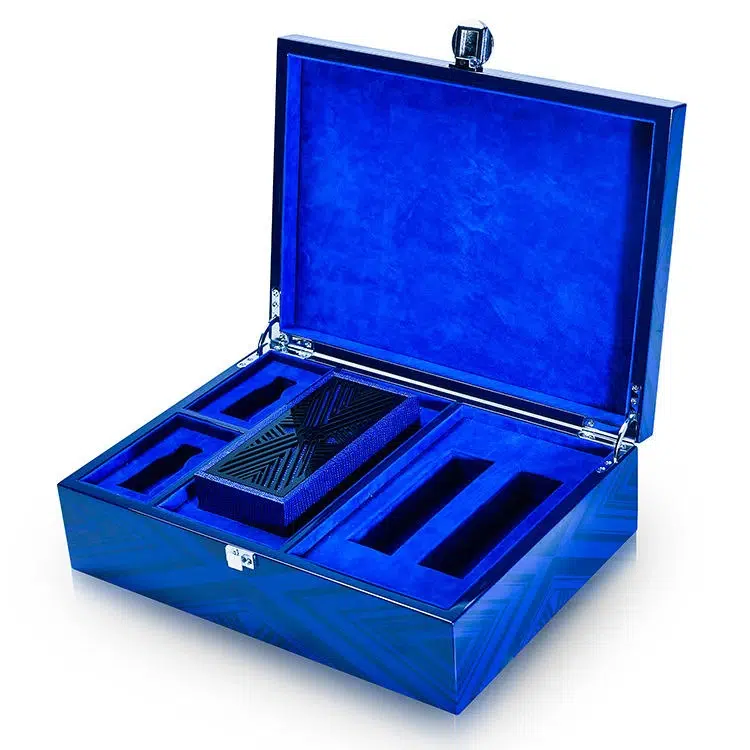
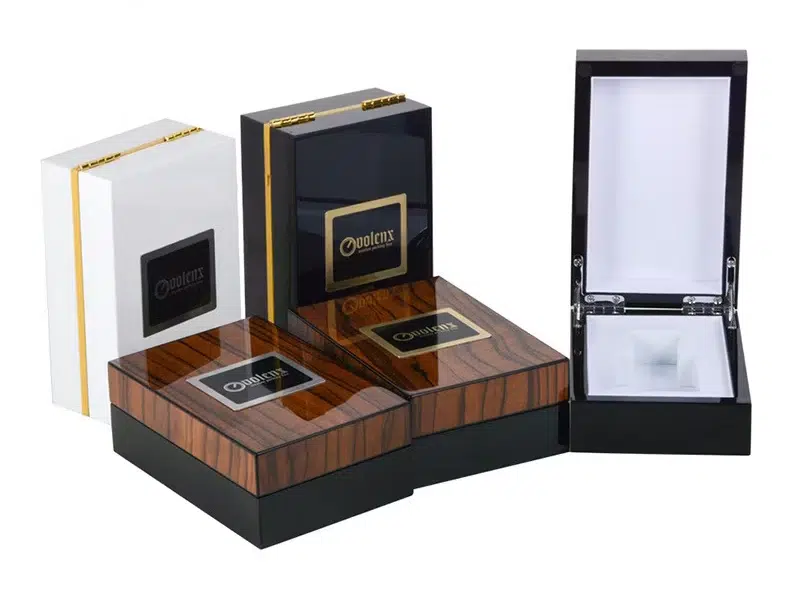
- Glossy logo or pattern1 on a matte background = subtle branding with high impact
- Glossy outer frame with matte center panel = adds depth and focus
- Matte body with glossy lid2 = premium layering, great for drawer-style boxes
- Glossy stripe or inlay along edges of matte box = elegant contrast
| Element | Recommended Finish |
|---|---|
| Brand logo / emblem | Glossy |
| Main surface panels | Matte |
| Lid accents / trims | Glossy or high satin |
| Drawer fronts | Matte |
| Interior compartments | Depends on material and texture goals |
✔ Let matte finishes calm the design while glossy accents catch light and attention.
One client used matte black on the full box with a spot-gloss gold logo on the lid—it was minimal, but incredibly luxurious under store lighting.
How do you mask and separate finish areas accurately during production?
Sharp transitions between finishes are only possible with professional masking techniques and careful planning in the spray booth.
Masking Techniques:
- Use precision-cut masking films3 (laser or plotter-cut) for clean lines
- Apply low-tack masking tape4 that won’t lift the base finish
- For curves or round edges, use flexible vinyl masking strips5
- Edge-seal masking before spraying to avoid bleed-under
- Always de-mask after flash-off, before full curing, to prevent chipping
Process Order (Typical):
- Apply matte finish to full box
- Mask off areas to stay matte
- Spray gloss finish on exposed parts
- Remove masking carefully before gloss fully cures
- Apply protective topcoat if needed
| Masking Material | Best For |
|---|---|
| Low-tack vinyl tape | Straight edges, logos |
| Laser-cut film | Intricate designs, patterns |
| Soft paper tape | Temporary edge protection |
✔ Always test masking removal timing on a sample board—removing too late can peel soft matte coatings.
We once tried masking glossy lines over a full-matte surface and left the tape on too long. The gloss was perfect, but the matte peeled. Timing was everything.
What types of coatings are best suited for combining matte and glossy effects on wood?
Not all finishes are compatible with dual-sheen applications. You need coatings that can be layered or selectively glossed without reacting negatively.
Coating Options:
- PU (Polyurethane)6: Best all-around choice. Can be mixed into matte and gloss versions. Compatible with layering.
- UV Coating7: Great for high-gloss logos or panels, but needs precise curing control.
- Acrylic Lacquers8: Suitable for smaller production runs and spot-gloss effects.
- Soft-touch PU: Excellent for matte base when combined with gloss overlays.
| Finish Type | Gloss Control | Dual-Finish Suitability |
|---|---|---|
| PU (2K) | High | Excellent |
| UV | High | Very good (with masking) |
| NC | Medium | Not ideal (soft edges) |
| Acrylic | Moderate | OK for light layering |
✔ Use the same brand/system for both matte and gloss to avoid chemical incompatibility.
Our go-to for luxury perfume boxes is PU matte body + UV spot gloss logo. It's durable, contrast-rich, and photograph-friendly under retail lighting.
Can layering finishes impact durability or texture differences on the same surface?
Yes—and that’s why your sequence and technique matter. Uneven layering can cause visual distortion, thickness mismatches, or inconsistent touch between surfaces.
Considerations:
- Gloss areas may appear slightly raised—plan your masking design to hide or highlight this intentionally
- Overlapping finishes may build too much thickness, causing tactile inconsistency
- Improper base preparation can cause edge chipping or gloss delamination9
- If topcoating both areas, ensure it doesn’t reduce the contrast effect (i.e., don’t flatten gloss)
Pro Tips:
- Keep finish layer counts even: e.g., both matte and gloss should have two or three coats
- Use intermediate sealer layer10 to prevent absorption inconsistencies
- Use fine-grit sanding11 between layers to avoid visible ridges at transitions
✔ When done correctly, the result is a seamless visual and tactile experience—not two finishes, but one design.
On a box with a glossy gold emblem on matte ivory, we added an extra clear coat over both areas. It evened out the surface without losing the contrast—perfect for high-end gifting.
How do lighting and surface angles enhance the visual effect of mixed finishes?
The beauty of a dual-finish design lies in how it interacts with light. Gloss catches and reflects; matte absorbs and calms.
What Happens in Light:
- Glossy areas create reflections and highlights
- Matte areas remain stable, reducing glare
- When side-lit or photographed at angles, contrast appears stronger
- Under retail lighting (warm LEDs), mixed finishes12 look more dynamic than single-finish boxes
Design for Light:
- Place glossy elements13 where they will face display lighting (top, front panels)
- Keep matte in areas that support contrast or tactile handling (sides, drawers, interior)
- Use angled or contoured surfaces to bounce light off glossy zones
| Finish Location | Light Effect |
|---|---|
| Top gloss logo | Maximum visibility, reflection |
| Matte side panels | Background calm, tactile appeal |
| Glossy inlays | Highlighted edges under spotlights |
✔ Always check prototypes under lighting conditions similar to final retail display.
We once showcased a gloss-matte box under a softbox light for a product video. The reflected logo shimmered while the matte black base stayed deep and smooth. It elevated the whole product.
What are common mistakes to avoid when applying dual-finish techniques?
Combining finishes sounds simple—but it’s easy to ruin the contrast with poor prep or sequencing.
Top Mistakes:
- Skipping surface sanding14 between finish types → poor adhesion
- Leaving masking too long → tears or edge lifting
- Overlapping gloss into matte without retouching → creates halo
- Using incompatible finish brands15 → chemical reaction or peeling
- Applying topcoat over both finishes → flattens the visual contrast
How to Avoid Them:
| Mistake | Prevention Tip |
|---|---|
| Gloss overspray on matte | Use tighter masking + spray from opposite direction |
| Matte peeling near mask lines | Remove tape before full cure |
| Visual mismatch in gloss level | Use gloss meter16 + test panels before full run |
✔ Always produce a test sample before moving to batch production.
We now include a small QC card with every dual-finish perfume box run, labeled “Matte Area” and “Gloss Area” with gloss readings for internal and client verification.
Conclusion
Gloss and matte can coexist beautifully on a wooden perfume box—if you respect their differences and understand how to control them. The result? A tactile, visual luxury experience that stands out in any retail setting.
To create a successful dual-finish design:
- Plan finish placement around light and user interaction
- Use professional masking and compatible coatings
- Maintain equal layer depth to avoid texture imbalances
- Test under showroom lighting for best effect
- Train your team to treat each surface type with equal precision
Because the difference between good and premium… often lies in the finish.
Brand Name: WoodoBox
Slogan: Custom Wooden Boxes, Crafted to Perfection
Website: www.woodobox.com
-
Explore how glossy logos can enhance brand visibility and create a luxurious feel in design. ↩
-
Discover the impact of combining matte and glossy finishes for a sophisticated design aesthetic. ↩
-
Explore this link to understand how precision-cut masking films can enhance your production quality with clean lines. ↩
-
Learn about low-tack masking tape and its benefits in preventing finish lifting during spray painting. ↩
-
Discover how flexible vinyl masking strips can help achieve perfect curves and edges in your projects. ↩
-
Explore the advantages of PU coatings for achieving durable and versatile wood finishes, perfect for dual-sheen applications. ↩
-
Learn about UV Coating's unique properties and its effectiveness in creating high-gloss finishes on wood surfaces. ↩
-
Discover the versatility of Acrylic Lacquers for achieving spot-gloss effects and their suitability for various projects. ↩
-
Learning about edge chipping and gloss delamination can help you avoid common pitfalls in your finishing projects. ↩
-
Understanding the role of an intermediate sealer layer can enhance your finishing techniques and improve durability. ↩
-
Exploring the benefits of fine-grit sanding can help you achieve smoother transitions and a more professional finish. ↩
-
Exploring this resource will provide insights into how mixed finishes can enhance aesthetics and functionality in design. ↩
-
Understanding the role of glossy elements can help you optimize product visibility and appeal in your designs. ↩
-
Understanding the role of surface sanding can help you achieve better adhesion and a flawless finish in your projects. ↩
-
Learn about the potential chemical reactions and issues that can arise from using incompatible finishes to avoid costly mistakes. ↩
-
Discover how a gloss meter can ensure consistency in your finishes, leading to professional-quality results. ↩