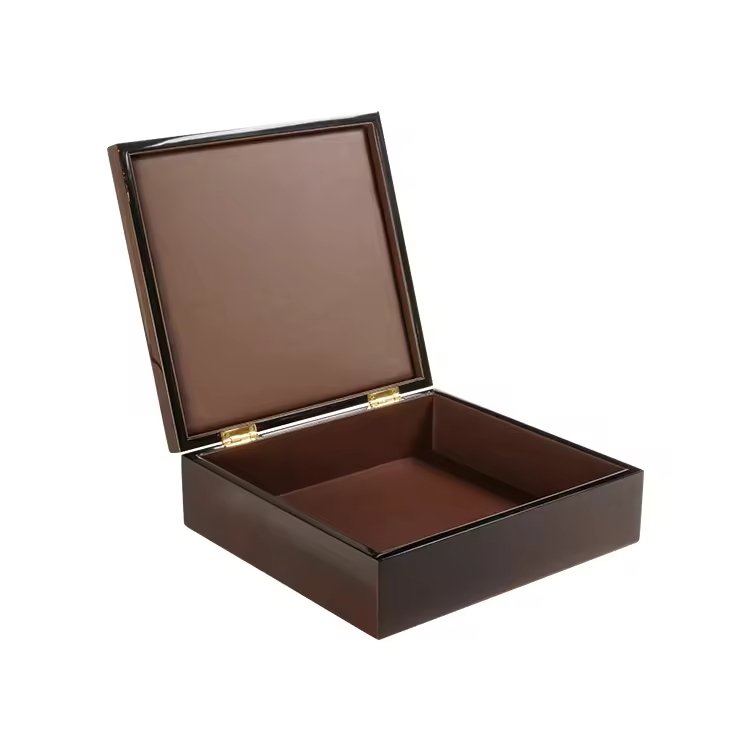
When it comes to luxury wooden jewelry boxes, nothing beats a flawless, mirror-like finish. But that deep, glass-like sheen doesn’t happen by chance—it’s the result of a precise polishing process that goes far beyond a simple buff.
So what polishing methods actually deliver that high-gloss, reflective surface?
Here’s the full process I’ve built up over years of working in the factory, developed through years of refining finishes for premium brands.
What is the difference between a glossy finish and a true glass-like surface?
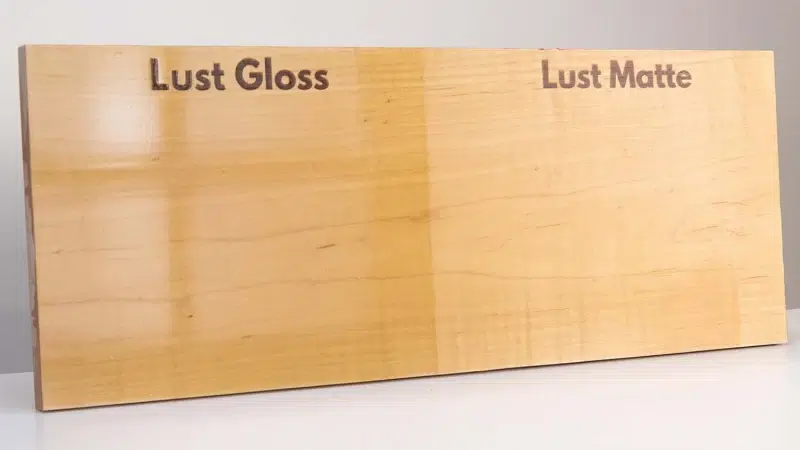
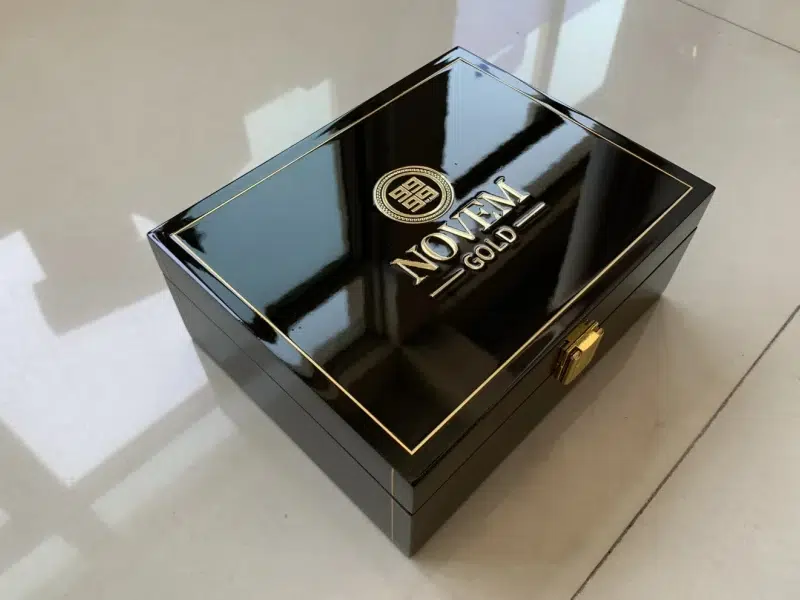
Glossy surfaces reflect light, but glass-like finishes reflect detail. A glossy surface may look shiny under light, but a glass-like surface shows sharp reflections, depth, and smoothness without distortion.
Key Differences
| Feature | Glossy Finish | Glass-Like Finish |
|---|---|---|
| Reflection Quality1 | Diffused shine | Clear, mirror-like reflection |
| Surface Texture | May have orange peel | Perfectly level and smooth |
| Clarity | Mild haze possible | Crystal-clear with sharp edges |
| Perception | Standard luxury | Ultra-premium, flawless feel |
If you can see your face clearly in the reflection—without any waves or blur—that’s when you know you’ve achieved a true glass-like result.
How does multi-stage polishing improve the depth and clarity of the finish?

Polishing in stages removes surface inconsistencies layer by layer, allowing the lacquer’s optical clarity2 to emerge. Each stage plays a specific role in refining gloss and depth.
The Three-Stage Polishing Process
-
Compounding (Cutting)
Removes sanding marks and flattens surface irregularities.
Grit equivalent: ~1500–2000 -
Polishing (Refining)
Smooths micro-scratches and improves clarity.
Grit equivalent: ~2500–3000 -
Finishing (Buffing)
Enhances mirror effect3, eliminates swirls, adds gloss depth.
Grit equivalent: ~4000+
✔ Between each step, clean the surface with a microfiber towel
✔ Use different pads for each stage to avoid cross-contamination
We never skip stages, even if the finish already looks glossy after compounding. True clarity only shows up in the final polish.
What polishing compounds and tools are ideal for high-gloss wooden surfaces?
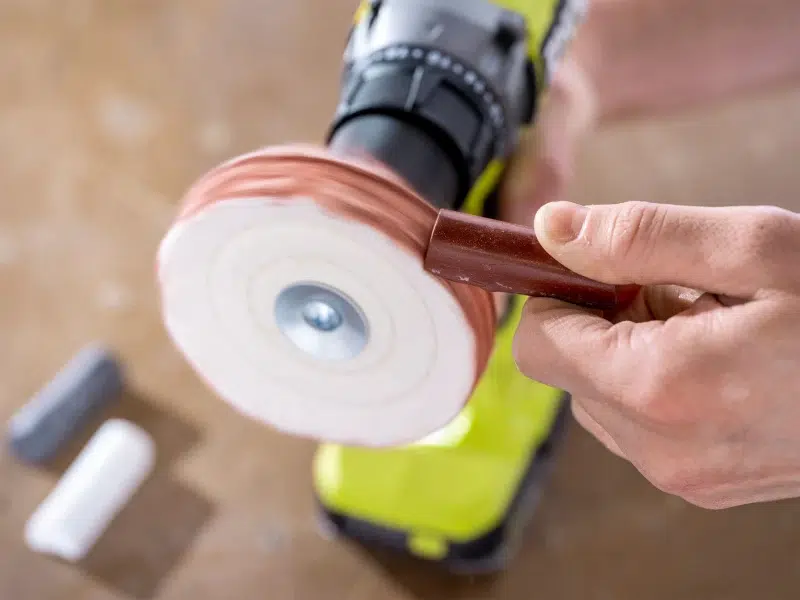
High-gloss wood requires fine abrasives that cut without burning or distorting the lacquer surface. Choosing the right pad and compound makes all the difference.
Recommended Polishing Tools
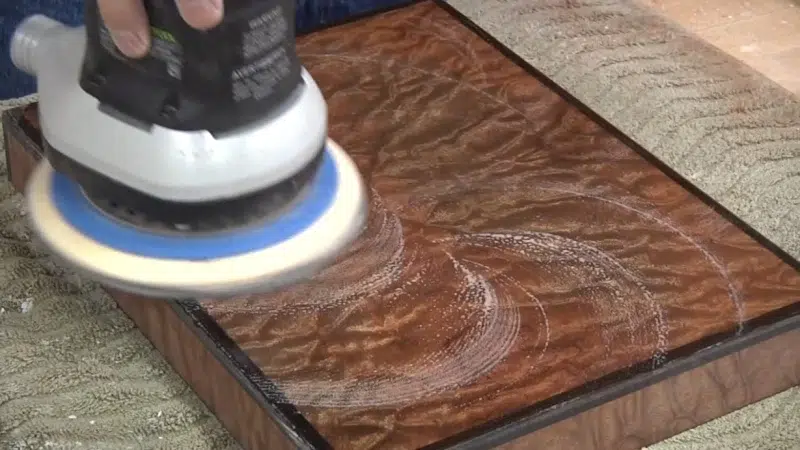
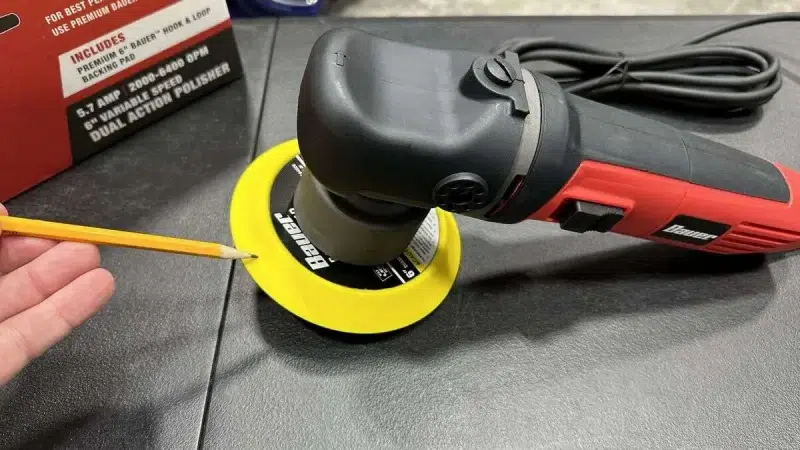
- Dual Action (DA) Polishers4 – Ideal for swirl-free finish
- Rotary Polishers (Low Speed) – Better for deeper cutting
- Foam Pads – Soft for finishing, firm for compounding
- Microfiber Pads – Great for removing fine haze
Suggested Compounds
| Stage | Product Type | Purpose |
|---|---|---|
| Compound | Medium-cut (e.g. Menzerna 2000)5 | Remove 2000-grit sanding marks |
| Polish | Fine-cut polish (e.g. Menzerna 3500) | Refine surface and boost clarity |
| Finishing | Swirl remover or glaze (e.g. 3M Ultrafina)6 | Final gloss and smoothness |
✔ Always test on a small area before full application
✔ Use a clean pad for each compound type
✔ Never apply too much compound—let the pad do the work
I’ve used everything from automotive-grade polishers to hand-buffing techniques—on lacquered wood, a DA polisher with a controlled speed is unbeatable.
How do you avoid swirl marks and micro-scratches during the final polish?
Swirl marks are one of the most common issues in polishing—and the most visible under showroom lighting. They usually result from bad technique or dirty tools.
Swirl-Free Polishing Tips
- Use soft, clean foam pads for final polish7
- Avoid dry buffing – always ensure compound is evenly distributed
- Apply light, even pressure – heavy pressure causes heat and dragging
- Work in overlapping motions – cover the entire area consistently
- Inspect with raking light – use angled LEDs to reveal swirls
✔ Final wipe should always be done with a clean microfiber cloth
✔ Avoid circular motion during hand polishing—use back-and-forth strokes
We inspect every jewelry box under a high-CRI LED before shipping. If we see even the faintest halo, it goes back to the buffing station.
What role does buffing speed and pressure play in achieving a flawless shine?
Polishing isn’t about brute force—it’s about balance. Buffing speed and pad pressure determine how much material is removed and how smooth the finish becomes.
Recommended Speed & Pressure
| Step | RPM Range | Pressure |
|---|---|---|
| Compounding | 1200–1500 | Medium |
| Polishing | 1000–1200 | Light-Medium |
| Finishing | 800–1000 | Light |
✔ Too fast = heat build-up8 → softens lacquer
✔ Too slow = insufficient cutting action
✔ Too much pressure = causes buffer trails and pad damage9
My rule of thumb: let the pad “float” across the surface during finishing. If you hear it dragging, you’re pressing too hard or running too dry.
How can you maintain the glass-like finish over time without damaging the lacquer?
A flawless finish is only as good as how it’s cared for. The wrong cloth or cleaner can destroy months of careful work in seconds.
Maintenance Tips for Long-Term Shine
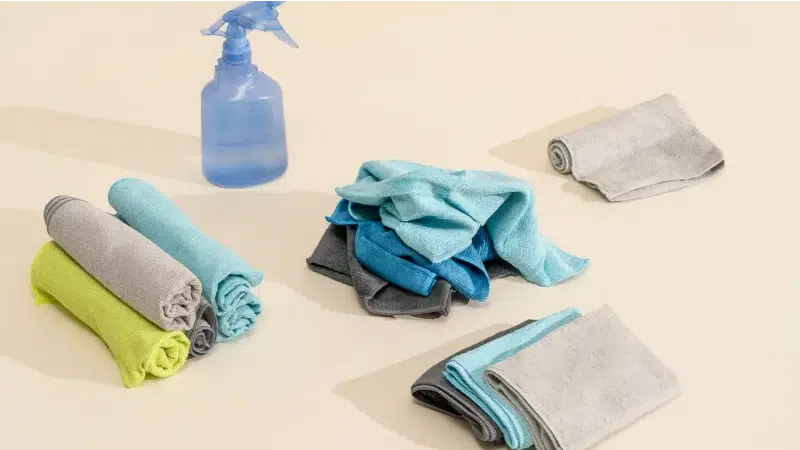
- Use only microfiber cloths10 for dusting
- Avoid alcohol- or ammonia-based cleaners
- Apply a furniture-safe spray wax11 (optional) – once every 3–6 months
- Keep the box away from direct sunlight and humidity extremes
- Handle with clean hands – oils from skin can leave marks
✔ Store boxes in soft cloth bags or clean display cases
✔ Never use abrasives or standard polishing pastes
For our clients, we include a microfiber cloth and care card with every jewelry box order—preserving the finish is part of the luxury experience.
Conclusion
To achieve a true glass-like finish on a lacquered jewelry box, polishing isn’t a final step—it’s an artform.
The key lies in:
- Multi-stage polishing with clean, soft tools
- Careful control of speed, pressure, and compound type
- Routine inspection under proper lighting
- Ongoing care with non-abrasive methods
When done right, the surface doesn’t just reflect light—it reflects craftsmanship, care, and quality.
Brand Name: WoodoBox
Slogan: Custom Wooden Boxes, Crafted to Perfection
Website: www.woodobox.com
-
Discover the importance of reflection quality in finishes and how it affects the overall appearance of surfaces. ↩
-
Learn about the importance of optical clarity in lacquer finishes and how it impacts overall appearance. ↩
-
Discover the techniques to achieve a mirror effect in polishing, enhancing the visual appeal of surfaces. ↩
-
Explore the advantages of DA polishers for achieving a flawless finish on wooden surfaces, ensuring a professional look. ↩
-
Discover the top medium-cut compounds like Menzerna 2000 that effectively remove sanding marks and enhance wood clarity. ↩
-
Learn how 3M Ultrafina can provide the final touch for a high-gloss finish, making your wood surfaces shine. ↩
-
Mastering the final polish technique can elevate your polishing skills. Discover expert tips to ensure a perfect finish. ↩
-
Heat build-up can ruin your finish. Learn more about its effects and how to manage it effectively. ↩
-
Discover the common mistakes that lead to buffer trails and pad damage, and how to avoid them for a perfect finish. ↩
-
Microfiber cloths are essential for maintaining a flawless finish without scratching surfaces. Discover their advantages here. ↩
-
Learn how furniture-safe spray wax can enhance and protect your finishes, ensuring long-lasting shine. ↩