La vernice per pianoforte è sinonimo di lusso, ma applicarla in modo impeccabile su una scatola di sigari è un processo molto impegnativo. Ogni fase, dal controllo dell'ambiente alla lucidatura, deve essere eseguita con estrema precisione.
Quali sono quindi le reali sfide tecniche che si celano dietro la realizzazione di una finitura laccata a specchio su scatole di sigari in legno di alta qualità?
In questa guida condividerò le principali sfide che ho affrontato in anni di produzione di confezioni per sigari di alta qualità, insieme a approfondimenti professionali su materiali, tecniche e standard di controllo qualità.
Che cos'è una finitura laccata per pianoforte e perché è ideale per le scatole di sigari di lusso?
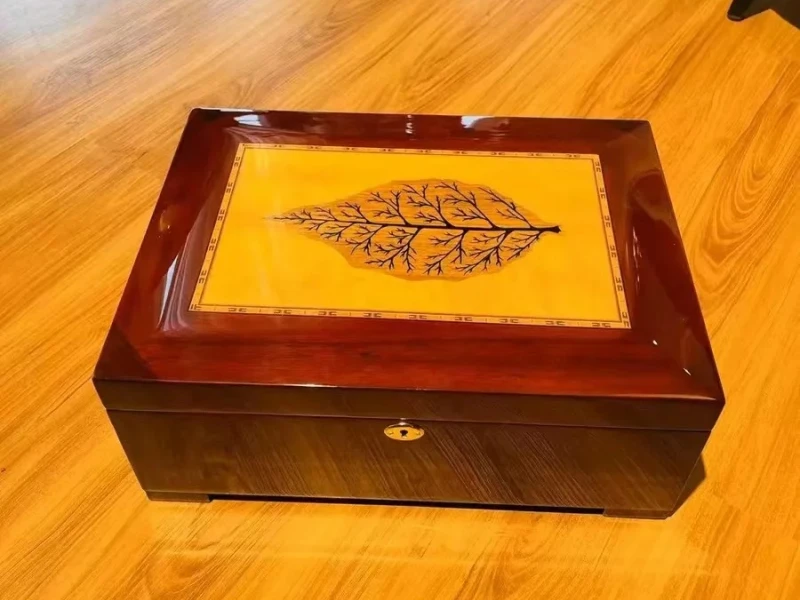
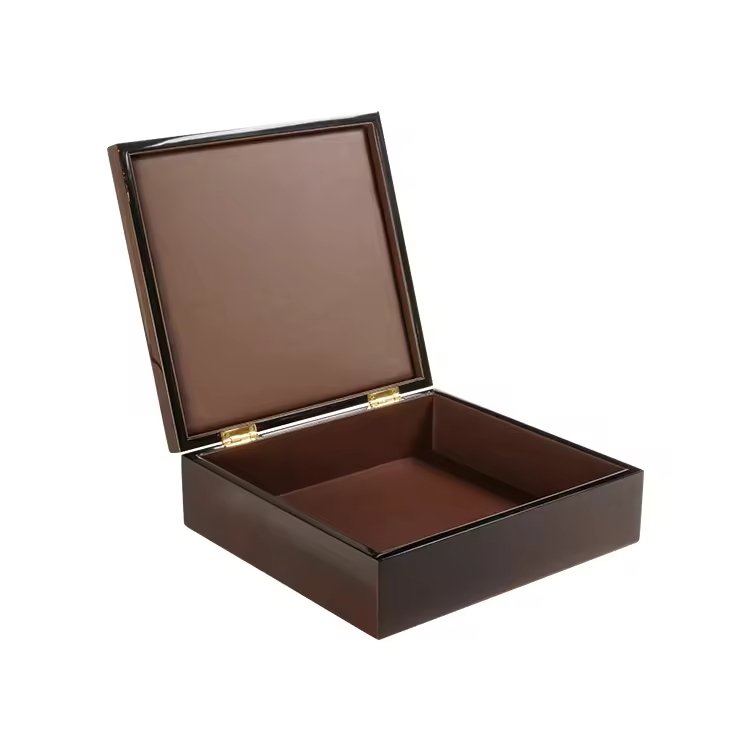
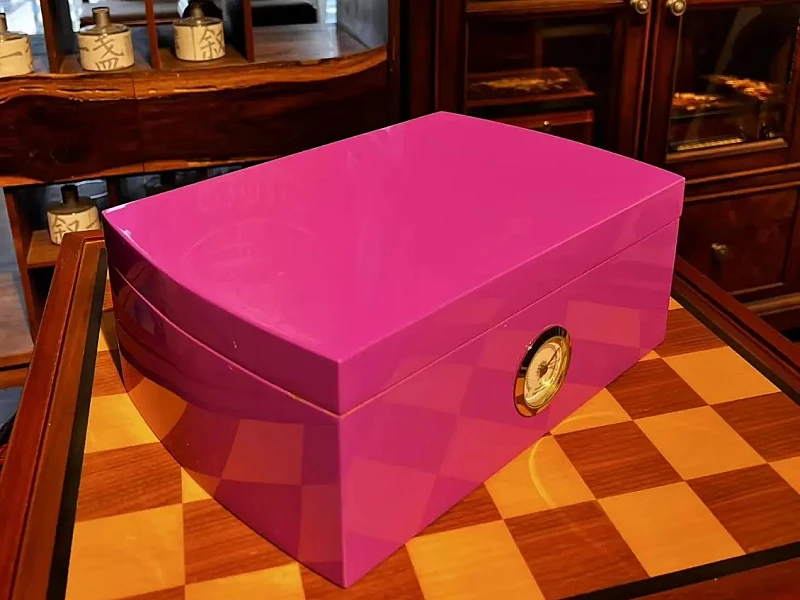
La vernice piano si riferisce a una finitura profonda, lucida e multistrato che riflette come uno specchio. Trasforma una normale superficie in legno in una vetrina ultra elegante e sofisticata.
Questa finitura è ideale per scatole di sigari di lusso1 perché amplifica il valore percepito, mette in risalto l'artigianalità e si abbina al prestigio dei sigari premium.
Perché si distingue
La vernice per pianoforte non è solo lucida, ma ha anche profondità. Riflette la luce in modo diverso a seconda dell'angolazione e, se applicata correttamente, conferisce alla superficie un aspetto "bagnato", come se fosse costantemente lucidata. Per le scatole di sigari di alta gamma, questo livello di finitura rende la confezione un oggetto di desiderio in sé.
Il materiale dietro la lucentezza
Vero lacca per pianoforte2 utilizza più strati di resina poliuretanica o poliestere. Ogni strato deve essere spruzzato in modo uniforme, levigato e polimerizzato prima di applicare quello successivo, richiedendo solitamente da 8 a 12 strati in totale.
In che modo l'ambiente influisce sull'applicazione della vernice per pianoforte?
Le condizioni ambientali possono determinare il successo o il fallimento di una verniciatura a lacca. Polvere, umidità e temperatura hanno tutte un effetto diretto sull'indurimento, l'adesione e la levigatezza della superficie.
Per ottenere una verniciatura impeccabile, è necessaria una cabina di verniciatura simile a una camera bianca con temperatura e umidità stabili.
Fattori ambientali chiave
- Temperatura3: La temperatura ottimale è compresa tra 20 e 25 °C (68-77 °F). Se fa troppo freddo, la vernice non si asciuga. Se fa troppo caldo, potrebbero formarsi delle bolle o asciugarsi troppo rapidamente.
- Umidità4: L'ideale è tra 50 e 60%. Un'umidità elevata può causare opacità o "arrossamento" nella finitura.
- Circolazione dell'ariaUna ventilazione insufficiente può causare l'accumulo di overspray sulla superficie, provocando rugosità o particelle visibili.
- Controllo della polvere5: Anche una sola fibra sospesa nell'aria può rovinare uno strato bagnato. Ecco perché insisto sull'uso di sistemi di filtraggio dell'aria HEPA nelle nostre sale di finitura.
Nel mio laboratorio, una volta abbiamo perso un intero lotto di 50 scatole di alta gamma a causa di un piccolo malfunzionamento dell'impianto di climatizzazione. Il risultato? Granelli di polvere visibili sigillati sotto lo strato finale, inaccettabile per i clienti che pagano per la perfezione.
Quali sono i passaggi preparatori fondamentali prima di applicare il primo strato di vernice?
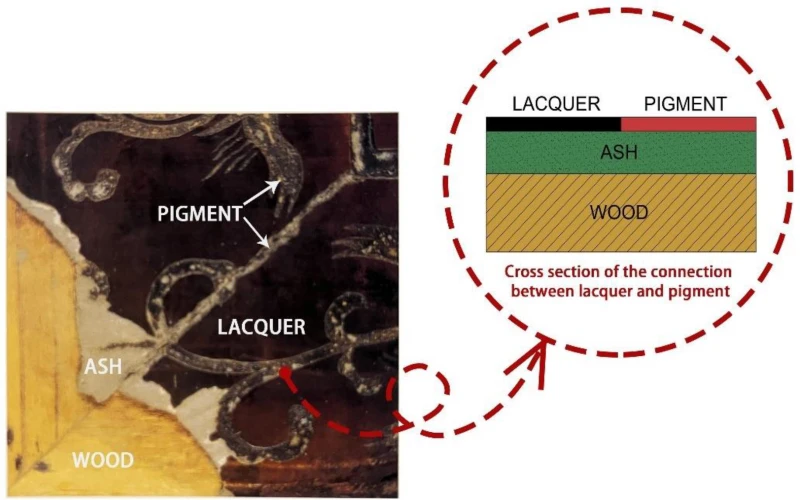
Una corretta preparazione della superficie è fondamentale per ottenere una finitura laccata perfetta del pianoforte. Saltare o affrettare questa fase comporta irregolarità nella texture e scarsa adesione.
Ogni centimetro del legno deve essere riempito, sigillato e levigato fino a ottenere una superficie uniforme prima ancora di applicare la prima mano di vernice.
Passaggi essenziali per la preparazione
-
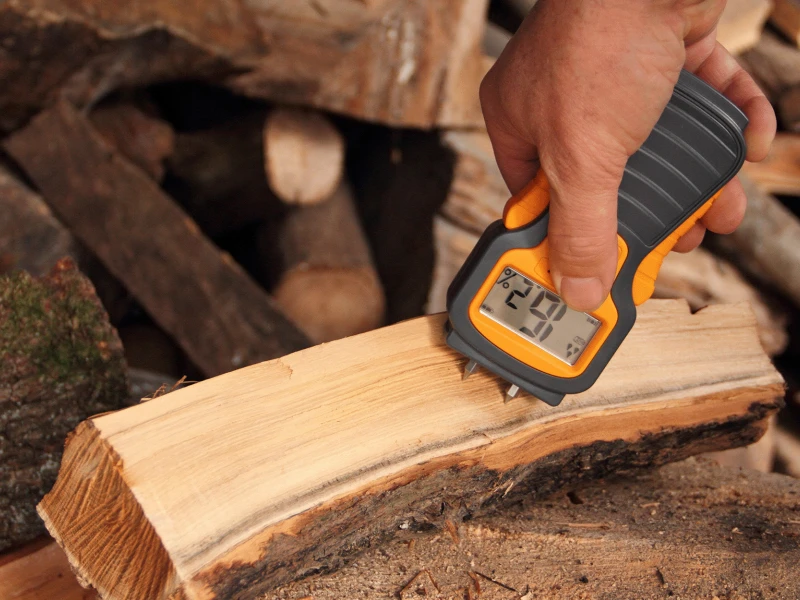
Controllo dell'umidità del legno6
Il legno deve essere stagionato ed essiccato fino a raggiungere un contenuto di umidità compreso tra l'8 e il 12%. Un contenuto superiore potrebbe rilasciare vapore durante l'indurimento e causare la formazione di bolle. -
Riempimento e sigillatura7
Eventuali pori, specialmente nei legni a grana aperta come il mogano, devono essere riempiti con stucco per legno. Successivamente viene applicato uno strato sigillante per chiudere la superficie. -
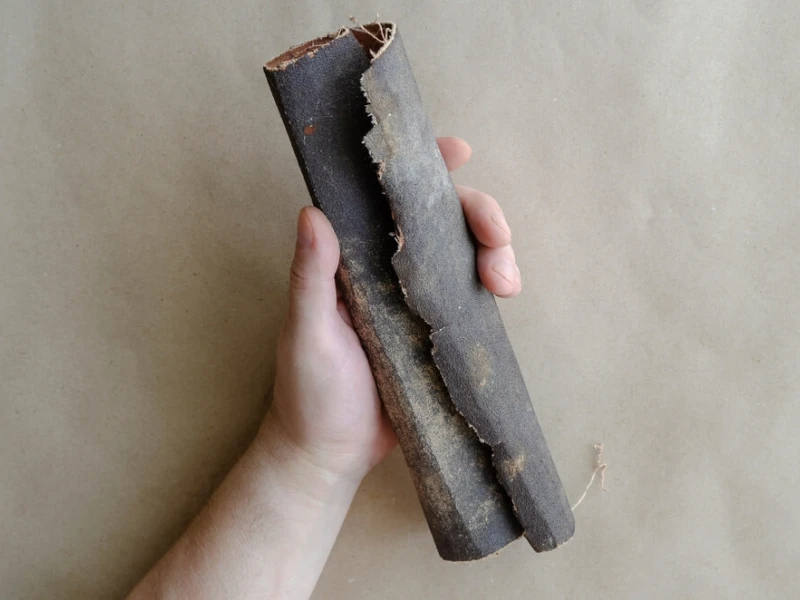
Levigatura progressiva8
La levigatura inizia con una grana 240 e prosegue fino a una grana 600 o superiore. Ogni livello di grana rimuove i graffi lasciati dal precedente. Si evita la levigatura circolare per prevenire la formazione di segni a spirale. -
Rimozione della polvere
La superficie deve essere pulita con aria filtrata e strofinata con un panno antistatico o una salvietta imbevuta di alcool.
Dico sempre ai miei clienti: il 50% di una buona verniciatura è invisibile. È nella preparazione che nessuno vede, ma che tutti notano nel risultato finale.
Quali sono gli errori più comuni nella stratificazione e nella lucidatura e come possono essere evitati?
Anche con una preparazione perfetta, la maggior parte dei problemi si verifica durante la stratificazione e la lucidatura. Manti irregolari9, una levigatura impropria tra gli strati e una lucidatura eccessiva sono errori comuni che distruggono l'effetto specchio.
Insidie della stratificazione
-
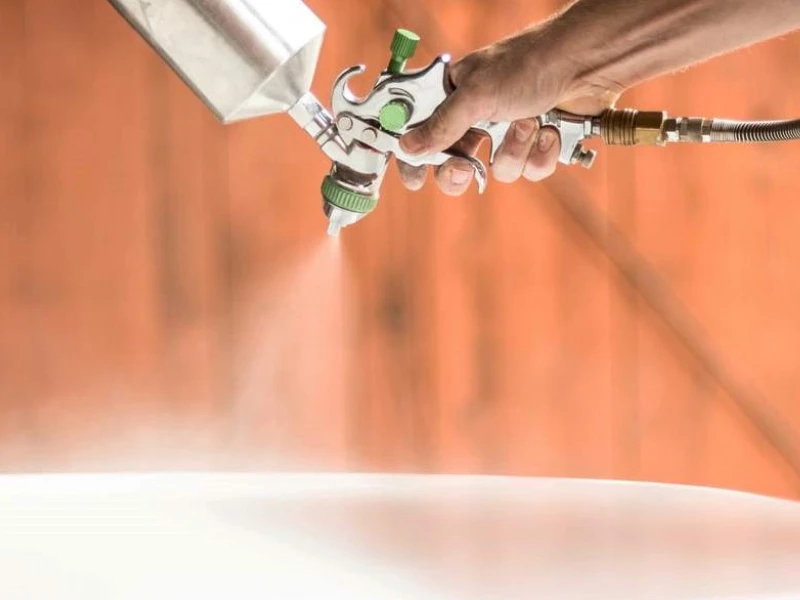
Applicazione di uno strato troppo spesso
Strati spessi causano cedimenti e indurimento non uniforme. Spruzzare sempre con passate sottili e uniformi con una sovrapposizione di 75%. -
Non lasciare asciugare bene
Applicare frettolosamente la mano successiva prima che quella precedente sia asciutta provoca il ristagno del solvente e la conseguente formazione di crepe. -
Saltare Levigatura intermedia10
Ogni strato deve essere levigato (in genere con grana 800-1000) per favorire l'adesione e livellare la superficie.
Insidie della lucidatura
-
Lucidatura eccessiva11
Il calore eccessivo delle lucidatrici può bruciare la finitura. L'operazione deve essere eseguita in più fasi, con adeguati periodi di raffreddamento. -
Abrasivi non uniformi
Utilizzare sempre lo stesso tipo e la stessa marca di composto lucidante per ottenere risultati uniformi. -
Saltare la lucidatura finale a mano
La lucidatura a macchina raggiunge 90%. La lucentezza residua è ottenuta grazie a un'abile lucidatura manuale con panni in microfibra e prodotti antirigature.
Come si garantisce una finitura priva di polvere e bolle durante il processo di polimerizzazione?
La polvere e le bolle d'aria sono i due nemici di una verniciatura impeccabile. Per prevenirle occorrono sia il controllo dell'ambiente che una gestione rigorosa del processo.
Tecniche di prevenzione della polvere
-
Cabine di verniciatura a pressione positiva12
Impedisce all'aria esterna di entrare e spingere la polvere all'interno. -
Sistemi di filtrazione dell'aria
I filtri HEPA rimuovono le particelle fini che si depositano sulle superfici bagnate. -
Protocolli per camere bianche
I lavoratori indossano indumenti privi di pelucchi e tappetini adesivi riducono lo sporco.
Tecniche di controllo delle bolle
-
Sgasatura della lacca13
Mescolato, non agitato. La vernice viene mescolata delicatamente per evitare la formazione di bolle d'aria. -
Impostazioni corrette della pistola a spruzzo
La pressione di atomizzazione deve essere calibrata per evitare la formazione della cosiddetta "buccia d'arancia". -
Tempo di evaporazione controllato14
Lasciare evaporare i solventi prima della cottura per evitare la formazione di bolle.
Dopo migliaia di scatole, continuo a trattare ognuna di esse come se fosse un esame finale. Anche la più piccola inclusione sotto uno strato lucido è visibile alla luce diretta e rovina l'effetto di lusso.
Quali metodi di controllo qualità vengono utilizzati per garantire un risultato brillante e impeccabile?
Il controllo finale della qualità non è solo visivo, ma anche tattile, dimensionale e riflettente. Una scatola di sigari con finitura laccata pianoforte deve apparire perfetta in tutte le condizioni di illuminazione.
Tecniche di controllo qualità
✔ Ispezione visiva sotto più angoli di illuminazione
Ogni scatola viene ruotata sotto luce bianca, luce diurna e luce calda per rilevare eventuali difetti superficiali.
✔ Letture del glossmetro15
Per garantire l'uniformità tra i diversi lotti vengono utilizzati glossimetri professionali (che misurano in GU, unità di lucentezza). Una finitura pianoforte impeccabile supera in genere i 90 GU con un angolo di 60°.
✔ Prova di planarità superficiale16
Le linee di riflessione della luce devono essere ininterrotte. Qualsiasi ondulazione suggerisce una levigatura o un rivestimento non uniforme.
✔ Controlli Swirl & Scratch17
Le scatole vengono esaminate sotto luci spot a LED per rilevare micrograffi non visibili ad occhio nudo.
✔ Test di sensibilità al tocco
Sì, la scorrevolezza delle dita è reale. I clienti si aspettano una finitura liscia come la seta, priva di micropolveri.
Per i marchi di sigari di alta gamma, nemmeno il 99% è abbastanza. L'ultimo 1% è il punto d'incontro tra artigianalità e prestigio del marchio.
Conclusione
Ottenere una finitura laccata perfetta su una scatola di sigari di lusso è uno dei processi più impegnativi nella lavorazione del legno.
Dal controllo dell'ambiente alla levigatura, dalla stratificazione alla lucidatura: ogni fase deve essere eseguita con precisione. Per i marchi di sigari premium, non si tratta solo di estetica, ma di allineare la qualità del packaging all'eccellenza del prodotto.
Nome del marchio: WoodoBox
Slogan: Scatole di legno personalizzate, realizzate alla perfezione
Sito web: www.woodobox.com
-
Scoprite perché le scatole di sigari di lusso utilizzano la lacca per pianoforte, rivelando la maestria artigianale e il prestigio che si celano dietro questi prodotti raffinati. ↩
-
Esplora questo link per comprendere le proprietà uniche della lacca per pianoforte e le sue applicazioni negli articoli di lusso, migliorando la tua conoscenza delle finiture di alta gamma. ↩
-
La temperatura gioca un ruolo fondamentale nell'essiccazione della vernice. Scopri di più sull'intervallo di temperatura ottimale per ottenere risultati perfetti. ↩
-
Comprendere i livelli di umidità ideali è fondamentale per ottenere una finitura impeccabile nell'applicazione della vernice. Esplora questo link per approfondimenti dettagliati. ↩
-
Un efficace controllo della polvere è essenziale per ottenere una finitura liscia. Scopri le migliori pratiche per evitare imperfezioni nella tua lavorazione con la vernice. ↩
-
Comprendere il giusto contenuto di umidità è fondamentale per evitare problemi come la formazione di bolle durante il processo di indurimento. Esplora questo link per approfondimenti dettagliati. ↩
-
Un riempimento e una sigillatura adeguati sono essenziali per ottenere una finitura impeccabile. Questa risorsa ti guiderà attraverso le migliori pratiche. ↩
-
La levigatura progressiva è fondamentale per ottenere una superficie liscia. Scopri di più sulle tecniche e sui vantaggi per un'applicazione perfetta della vernice. ↩
-
Comprendere l'impatto delle finiture irregolari può aiutarti a ottenere un risultato impeccabile nei tuoi progetti. ↩
-
Scopri perché la levigatura intermedia è fondamentale per l'adesione e il livellamento della superficie, garantendo una finitura perfetta. ↩
-
Scopri i rischi di una lucidatura eccessiva e come evitare di danneggiare la finitura durante il processo di lucidatura. ↩
-
Scoprite come le cabine di verniciatura a pressione positiva possono migliorare significativamente il processo di essiccazione della vernice, prevenendo la contaminazione da polvere. ↩
-
Scopri l'importanza del degassaggio della lacca per garantire una finitura liscia e priva di bolle nei tuoi progetti. ↩
-
Scopri come la gestione del tempo di evaporazione può essere fondamentale per evitare la formazione di bolle durante il processo di polimerizzazione. ↩
-
Comprendere i valori rilevati dal glossmetro può migliorare le tue conoscenze in materia di controllo qualità delle finiture, garantendo un risultato impeccabile. ↩
-
L'analisi dei test di planarità delle superfici fornirà informazioni utili per mantenere standard elevati nelle finiture dei prodotti, fondamentali per la reputazione del marchio. ↩
-
Imparare a conoscere i controlli relativi a graffi e segni di turbolenza può aiutarti ad apprezzare i meticolosi processi che stanno dietro al raggiungimento di una finitura perfetta. ↩