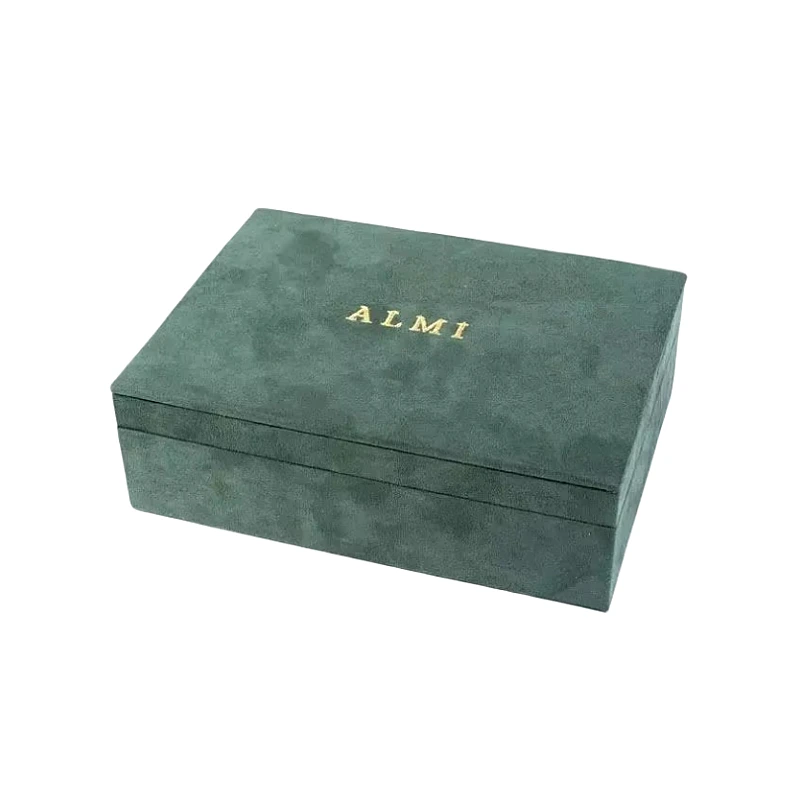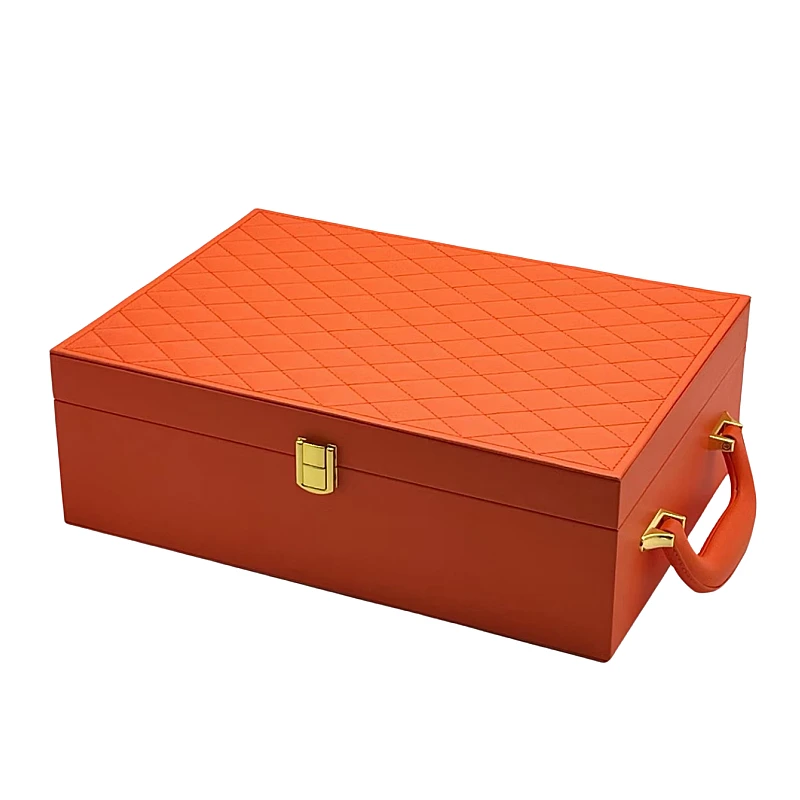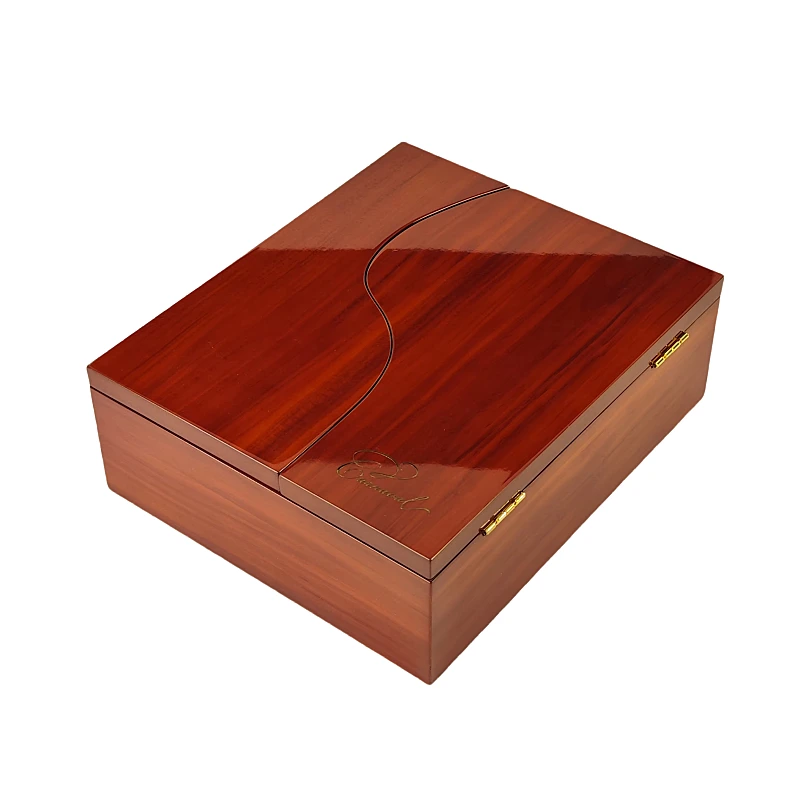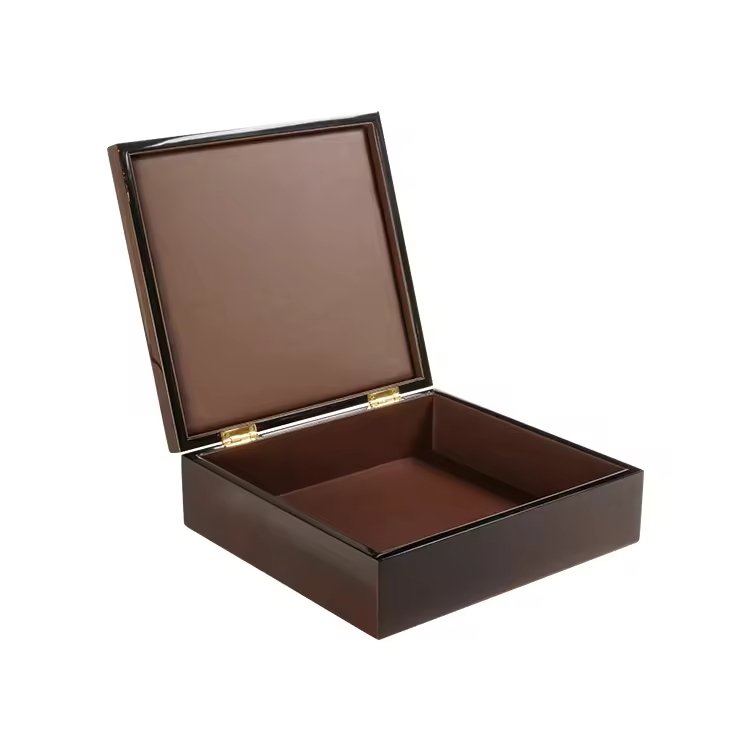
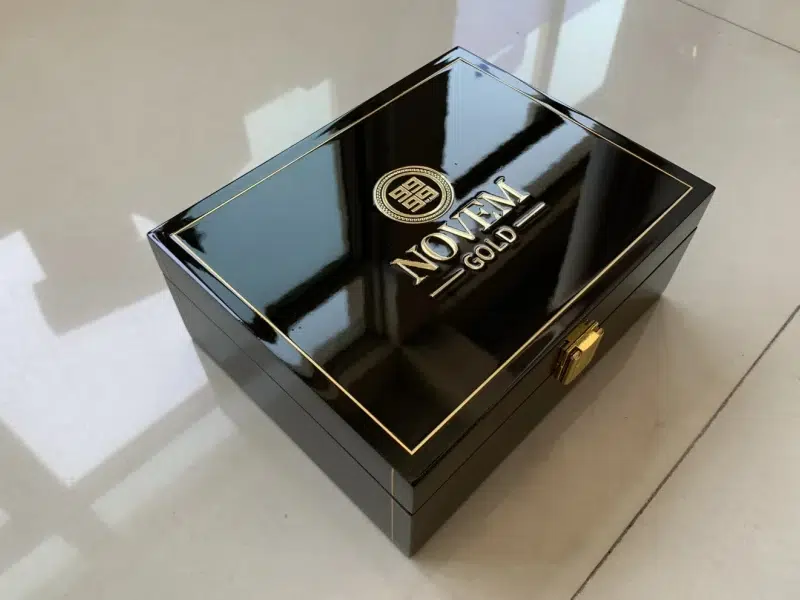
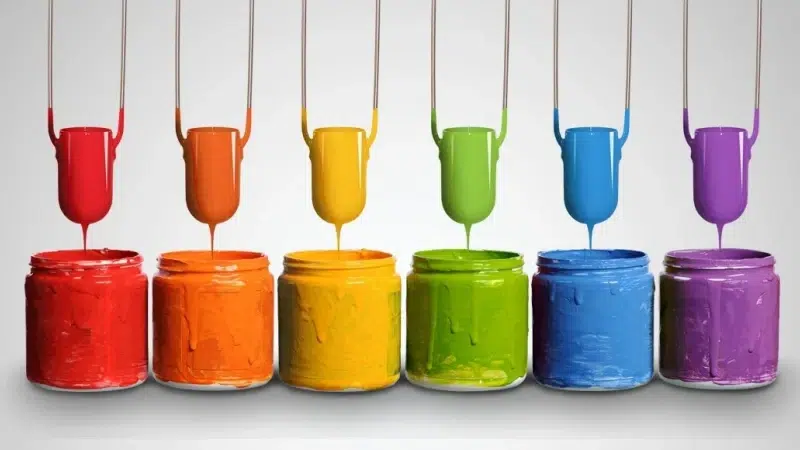
Ottenere una finitura laccata perfetta e priva di bolle su grandi scatole regalo di lusso è una delle sfide più impegnative nella finitura del legno di alta gamma. Più grande è la superficie, più difficile diventa mantenere uniformità, chiarezza e profondità senza introdurre microbolle.
Quindi, quali misure specifiche possono adottare i produttori per eliminare le bolle e ottenere quella finitura liscia come il vetro che i clienti di lusso si aspettano?
In questa guida ti illustrerò l'intero processo sulla base di anni di esperienza pratica con progetti di imballaggi laccati di grandi dimensioni.
Perché le superfici di grandi dimensioni sono più soggette alla formazione di bolle d'aria durante l'applicazione della vernice?
Le superfici ampie e piatte espongono una maggiore area all'aria, aumentando le possibilità di intrappolamento del solvente, atomizzazione irregolare e turbolenze dell'aria durante l'essiccazione.
È necessario più tempo per rivestire queste aree in modo uniforme e più a lungo la lacca rimane aperta, maggiori sono le possibilità che intrappoli particelle o bolle presenti nell'aria.
Sfide principali su superfici più ampie
- Tempo di apertura prolungato1: La vernice bagnata rimane esposta più a lungo, aumentando il rischio di formazione di bolle.
- Zone di sovrapposizione2: Le linee di spruzzo possono intrappolare l'aria nei punti di intersezione delle pennellate.
- Affaticamento dell'operatore3: Il movimento irregolare della mano causa uno spessore non uniforme e la formazione di microbolle.
- Mancanza di uniformità nella ventilazione: Il flusso d'aria può disturbare solo una parte della superficie, causando un'essiccazione non uniforme.
Quando lavoriamo su scatole di larghezza superiore a 50 cm, applichiamo sempre la lacca in sezioni utilizzando modelli di spruzzatura controllati con sovrapposizioni temporizzate: questo aiuta a evitare la formazione di schiuma al centro della superficie.
In che modo una corretta preparazione della superficie riduce il rischio di intrappolare aria?
Una superficie porosa o sigillata in modo improprio è una delle cause principali della formazione di bolle. Il legno contiene naturalmente minuscole sacche d'aria che si espandono quando vengono ricoperte con vernici ricche di solventi.
Nel caso di scatole di grandi dimensioni, anche piccole incongruenze nella sigillatura possono causare la formazione di bolle o fori visibili nella finitura finale.
Passaggi per preparare correttamente la superficie
-
Controllo dell'umidità
Il legno non dovrebbe avere più di 10-12% contenuto di umidità4. -
Riempimento dei chicchi
Soprattutto per legni a grana aperta come quercia o frassino. Utilizzare uno stucco ad alto contenuto di solidi per chiudere i pori. -
Applicazione del rivestimento sigillante
Applicare almeno 1-2 mani di sigillante levigante e lasciare asciugare completamente prima di applicare la lacca. -
Levigatura iniziale
Levigare la superficie sigillata con carta abrasiva grana 400-600 per creare una base piatta e non assorbente.
Sui pannelli più grandi, lavoriamo sempre con luce radente per assicurarci che non rimangano fori o grana aperta prima di passare alla laccatura.
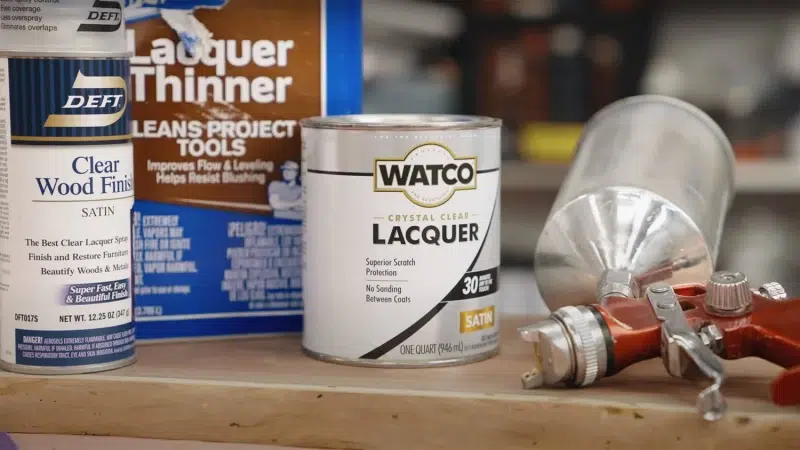
Qual è l'ideale? viscosità e miscelazione5 Metodo per evitare la formazione di bolle nella verniciatura?
Una vernice miscelata in modo improprio, o troppo densa, può intrappolare aria durante la spruzzatura o la pennellatura. La viscosità e la miscelazione sono fondamentali per evitare la formazione di schiuma.
Processo di miscelazione ideale
-
Mescolare delicatamente, senza agitare
Mescolare lentamente con un movimento a forma di 8. Agitando si formano delle microbolle. -
Lasciare riposare la vernice mista
Dopo aver mescolato, lasciate riposare per 15-30 minuti per far uscire l'aria intrappolata. -
Filtrare prima dell'uso
Filtrare sempre la vernice con un filtro in nylon da 120-150 mesh prima di versarla nella tazza dello spruzzatore.
Viscosità raccomandata
| Tipo di lacca | Viscosità ideale (coppa Zahn #2) |
|---|---|
| Nitrocellulosa | 18-22 secondi |
| Poliuretano | 20-25 secondi |
| Poliestere | 25-30 secondi |
Regoliamo sempre la viscosità in base alla temperatura ambiente e alla dimensione dell'ugello della pistola a spruzzo. Quando fa caldo, la vernice più fluida scorre meglio e asciuga più rapidamente, riducendo il rischio di formazione di bolle.
In che modo gli strumenti di applicazione (pistole a spruzzo, pennelli) influiscono sulla formazione di bolle?
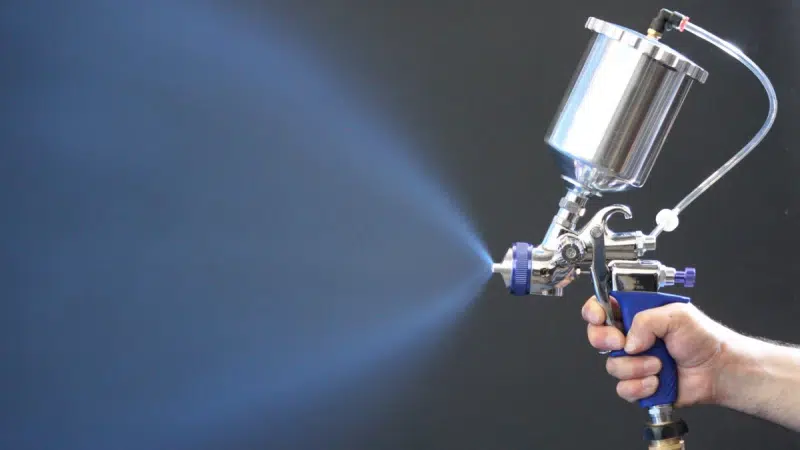
Uno strumento di applicazione sbagliato, o impostazioni errate, possono causare l'atomizzazione dell'aria nella vernice, creando minuscole bolle che diventano visibili solo dopo l'indurimento.
Impostazioni importanti della pistola a spruzzo
✔ Dimensione punta fluido
Per pannelli di grandi dimensioni: l'ideale è 1,3-1,5 mm. Troppo piccolo = atomizzazione eccessiva; troppo grande = buccia d'arancia.
✔ Pressione dell'aria
Mantenere entro 20-25 PSI per Pistole HVLP6. Se troppo alto provoca turbolenze, se troppo basso rende il rivestimento irregolare.
✔ Larghezza del ventilatore
Utilizzare un getto ampio e uniforme (20-25 cm) per ridurre la sovrapposizione e il ristagno.
✔ Distanza di spruzzo
Mantenere una distanza di 15-20 cm dalla superficie, muovendosi a velocità costante.
Note sull'applicazione con pennello
- Utilizzo spazzole in schiuma o setole sintetiche7—le setole naturali possono intrappolare l'aria.
- Applicare con tratti sovrapposti in una sola direzione.
- Elimina immediatamente eventuali bolle utilizzando un tampone di schiuma.
Tutti i nostri operatori addetti alla verniciatura a spruzzo seguono una formazione annuale sulla calibrazione: utilizzare una pistola a spruzzo mal regolata su una finitura di lusso è semplicemente inaccettabile.
Quali controlli ambientali aiutano a prevenire il ristagno d'aria durante l'essiccazione?
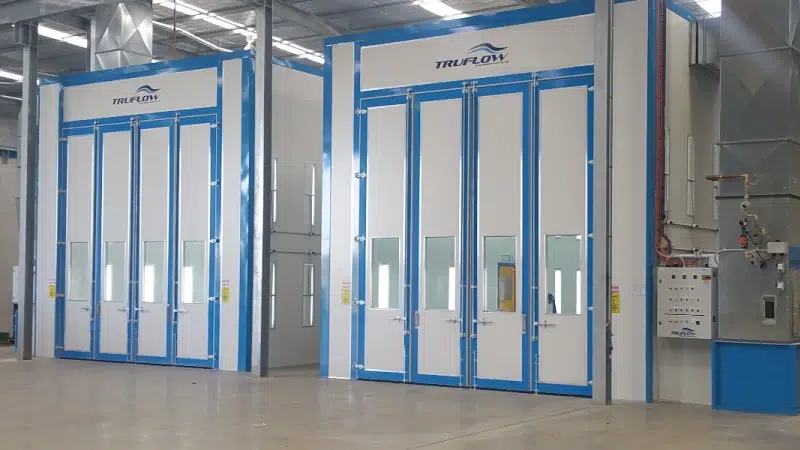
Una volta che la lacca viene applicata sulla superficie, deve asciugarsi in modo uniforme e delicato. Ambienti non controllati portano a evaporazione del solvente8 che intrappola l'aria e l'umidità all'interno della finitura.
Ambiente ideale per l'asciugatura
| Fattore | Gamma ideale |
|---|---|
| Temperatura | 20-25°C (68-77°F) |
| Umidità relativa | 50–60% |
| Movimento dell'aria | Flusso d'aria laminare e filtrato |
| Tempo di asciugatura | 12-24 ore tra una mano e l'altra |
✔ Cabine di verniciatura a pressione positiva9: Tenere lontani polvere e detriti.
✔ Ventilazione a flusso discendente10: Rimuove i solventi e l'umidità in eccesso senza danneggiare la superficie.
✔ Misure di controllo statico: Prevenire l'attrazione della polvere e l'instabilità dell'aria.
In estate, utilizziamo filtri dell'aria supplementari e rallentiamo la produzione per consentire il completo degassamento. Una polimerizzazione rapida spesso comporta una finitura morbida o con bolle.
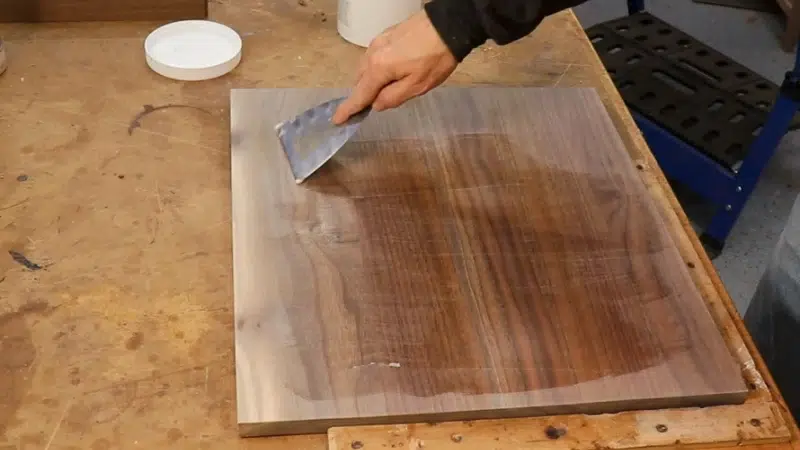
Come può levigatura tra una mano e l'altra11 e polimerizzazione lenta12 migliorare la trasparenza finale della superficie?
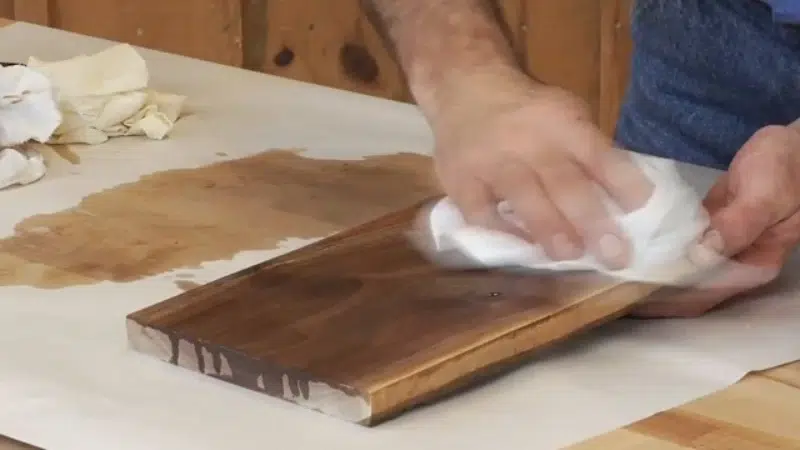
Anche con uno spray pulito, microbolle13 può occasionalmente formarsi. Una corretta levigatura tra una mano e l'altra e un'essiccazione controllata aiutano ad eliminare i difetti e a creare uno strato dopo l'altro una finitura cristallina.
Processo di levigatura a umido
- Utilizzare carta vetrata impermeabile con grana 800-1200.
- Levigare con una leggera pressione in linee rette, non circolari.
- Risciacquare frequentemente e asciugare completamente prima di ricoprire.
Consigli per la stagionatura
✔ Lasciare trascorrere almeno 12 ore tra una mano di vernice pesante e l'altra.
✔ Evitare l'essiccazione forzata, a meno che non si utilizzino forni a bassa temperatura. (≤45 °C)
✔ Verificare con l'unghia o con un glossmetro prima di applicare la mano successiva.
Una delle lezioni più importanti che ho imparato: non affrettare mai i tempi tra uno strato e l'altro. Lasciare riposare completamente la vernice permette all'aria intrappolata di fuoriuscire naturalmente prima che diventi permanente.
Conclusione
L'applicazione della vernice per pianoforte su scatole regalo di lusso di grandi dimensioni richiede molto più che abilità nella spruzzatura: richiede un controllo scientifico di ogni fase.
Per garantire una finitura senza bolle:
- Sigillare e livellare il legno prima di spruzzare.
- Mescolare lentamente la lacca, regolare la viscosità e filtrare prima dell'uso.
- Utilizzare strumenti di spruzzatura calibrati e controllare attentamente il flusso d'aria.
- Carteggiare delicatamente e lasciare asciugare completamente tra una mano e l'altra.
Con pazienza, precisione e l'ambiente giusto, anche le grandi superfici laccate possono brillare come il vetro, riflettendo non solo la luce, ma anche l'eccellenza del vostro marchio.
Nome del marchio: WoodoBox
Slogan: Scatole di legno personalizzate, realizzate alla perfezione
Sito web: www.woodobox.com
-
Comprendere gli effetti di un tempo di apertura prolungato può aiutarti a migliorare le tue tecniche di applicazione della vernice e a evitare la formazione di bolle d'aria. ↩
-
Imparare a conoscere le zone di sovrapposizione può migliorare la tua tecnica di spruzzatura, garantendo una finitura più uniforme e meno imperfezioni. ↩
-
Esplorare la relazione tra l'affaticamento dell'operatore e la qualità dell'applicazione può portare a pratiche migliori e risultati ottimali nei vostri progetti. ↩
-
Scopri come il contenuto di umidità influisce sulla finitura del legno per ottenere un prodotto finale impeccabile. ↩
-
Comprendere la viscosità e le tecniche di miscelazione è fondamentale per ottenere una finitura liscia e priva di bolle nelle applicazioni di verniciatura. ↩
-
Comprendere il funzionamento delle pistole HVLP può aiutarti a ottimizzare l'applicazione a spruzzo e ridurre la formazione di bolle nelle finiture. ↩
-
Scoprire i vantaggi di questi pennelli può migliorare la tua tecnica di applicazione e ridurre al minimo la formazione di bolle d'aria. ↩
-
Comprendere il flash-off dei solventi è fondamentale per ottenere una finitura perfetta. Esplora questo link per saperne di più sul suo impatto sui processi di essiccazione. ↩
-
Scopri come le cabine di verniciatura a pressione positiva possono migliorare il tuo ambiente di essiccazione e la qualità delle finiture. Clicca per saperne di più! ↩
-
Scopri come la ventilazione a flusso discendente può ottimizzare il processo di essiccazione e ridurre al minimo i difetti nelle finiture. Questa risorsa è preziosa per i professionisti. ↩
-
Esplorando questa risorsa potrai scoprire come la levigatura migliora la qualità della finitura e la nitidezza dei tuoi progetti. ↩
-
Comprendere il processo di indurimento lento può aiutarti a ottenere una finitura impeccabile, consentendo la fuoriuscita dell'aria e prevenendo la formazione di difetti. ↩
-
Questo link ti aiuterà a conoscere le cause delle microbolle e le tecniche di prevenzione efficaci per ottenere una finitura perfetta. ↩