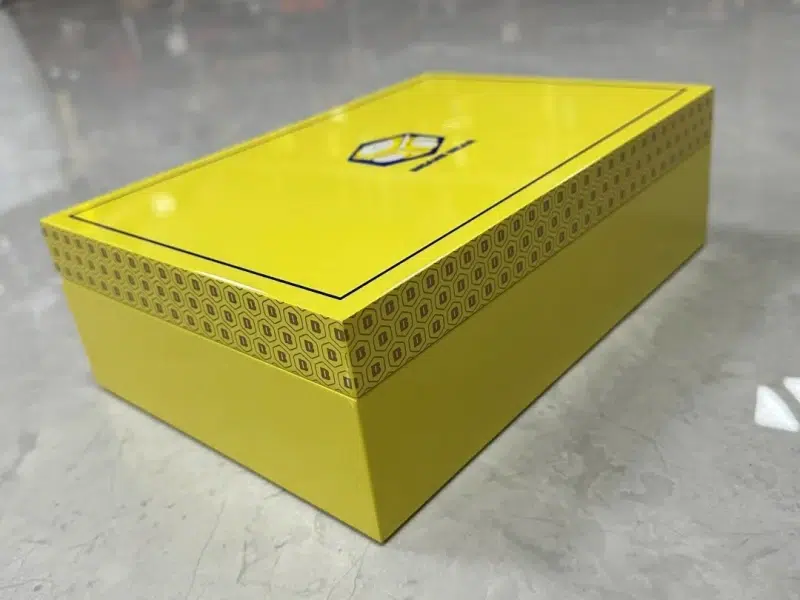
إن الحصول على لمسة نهائية عاكسة حقيقية على صندوق نبيذ مطلي بالبيانو لا يتعلق فقط بالورنيش نفسه - بل يتعلق بما يحدث بين كل طبقة وأخرى. الصنفرة، عند القيام بها بشكل صحيح، هي البطل الخفي وراء هذا السطح العاكس الخالي من العيوب.
إذن، ما هي عملية الصنفرة التي توفر بالفعل تلك اللمسة النهائية الشبيهة بالزجاج المتوقعة في عبوات النبيذ الراقية؟
بالاعتماد على سنوات من الخبرة العملية في تشطيب الصناديق الخشبية الفاخرة، سأرشدك إلى طريقة الصنفرة خطوة بخطوة التي نستخدمها لإضفاء العمق والوضوح واللمعان المثالي.
لماذا يعتبر الصنفرة خطوة حاسمة في تحقيق تشطيب بيانو يشبه المرآة1?
لا يخرج الطلاء من مسدس الرش ناعمًا. يجب أن يتم تسويته - عدة مرات - لإزالة الملمس والغبار والعيوب الدقيقة. تعمل عملية الصنفرة على تسطيح كل طبقة، مما يخلق سطحاً يعكس الضوء بشكل موحد.
بدون صنفرة مناسبة، ستحصل على قشرة برتقالية أو بقع باهتة أو لمعان غير متناسق. باستخدامه، ستحصل على مرآة مثالية.
ماذا يفعل الصنفرة في تشطيب الطلاء بالورنيش
- يزيل الشوائب: يزيل حبيبات الغبار وملمس الرذاذ والعيوب الطفيفة.
- تسطيح السطح: مستويات النقاط العالية والمنخفضة لانعكاس مثالي للضوء.
- يعزز الالتصاق: ترتبط كل طبقة بشكل أفضل بسطح متآكل بشكل موحد.
- يبني عمق اللمعان: طبقات ناعمة متراصة للحصول على لمعان عميق ورطب المظهر.
في ورشتي، كثيراً ما نقول "اللمعان في الصنفرة، وليس في الرذاذ."
ما تسلسل الحبيبات الذي يجب اتباعه من الصنفرة الخشنة إلى الصقل النهائي؟
يكمن سر الحصول على مظهر نهائي مثالي كالمرآة في استخدام حبيبات الصنفرة2 في الوقت المناسب - وعدم تخطي أي خطوة بينهما.
تدرج الحبيبات القياسي لورنيش البيانو
| المرحلة | نطاق الحبيبات | الغرض |
|---|---|---|
| الإعداد الأولي للسطح | 240-320 | يسطح سطح الخشب المغلق قبل الطلاء الأساسي |
| بين طبقات الطلاء بالورنيش | 600-800 | تنعيم كل طبقة معالجة من أجل الالتصاق |
| طبقات البناء النهائية | 1000-1500 | يزيل ملمس السطح، ويبدأ في صقل اللمعان |
| ما قبل التلميع | 2000-3000 | يجهز السطح للمركب التلميع3 |
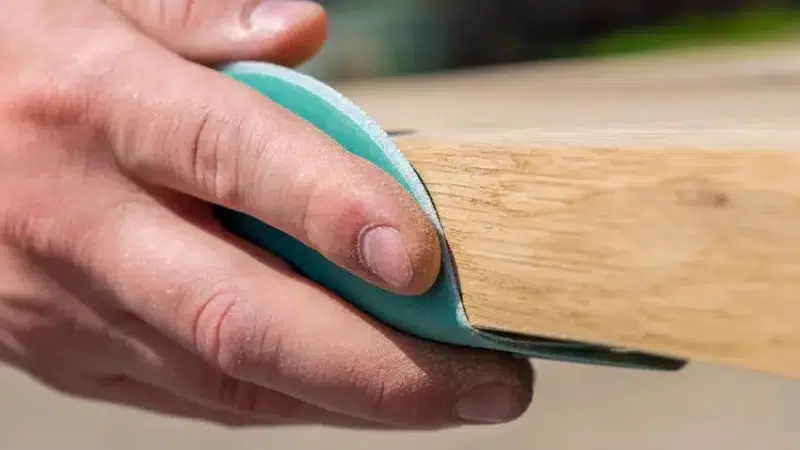
✔ الاستخدام الإسفنج الكاشطة4 أو ورق الصنفرة الرقائقي للتوحيد
✔ الصنفرة يدويًا بضربات متداخلة أو باستخدام وسادة واجهة ناعمة على ماكينة صنفرة DA
لا أتسرع أبدًا في تدرج الحبيبات. إن التخطي من 800 إلى 2000 لتوفير الوقت يترك دائمًا تموجات أو ضبابية دقيقة في النهاية.
كيف الصنفرة الرطبة5 تحسين نعومة ووضوح السطح؟
الصنفرة الرطبة ضرورية للتشطيبات المرآة. فهو يقلل من الحرارة، ويمنع الانسداد، ويخلق نمط خدش أدق - وهو أمر بالغ الأهمية لتحقيق انعكاسية خالية من العيوب.
فوائد الصنفرة الرطبة
- يقلل من الخدوش: يعمل الماء كمادة تشحيم، مما يقلل من التآكل العميق.
- يزيل الحطام على الفور: يمنع التراكم الذي يسبب علامات الدوامة.
- يقلل من الحرارة: يحمي الطلاء من التليين أو التشوه.
- يحسن التغذية المرتدة اللمسية: يمكنك أن تشعر عندما يستوي السطح.
كيفية تبليل الرمل بشكل صحيح
- الاستخدام ورق صنفرة مقاوم للماء عالي الجودة6 (على سبيل المثال، سلسلة 3M 401Q)
- إضافة قطرة من صابون الأطباق لتنظيف الماء من أجل انزلاق أكثر سلاسة
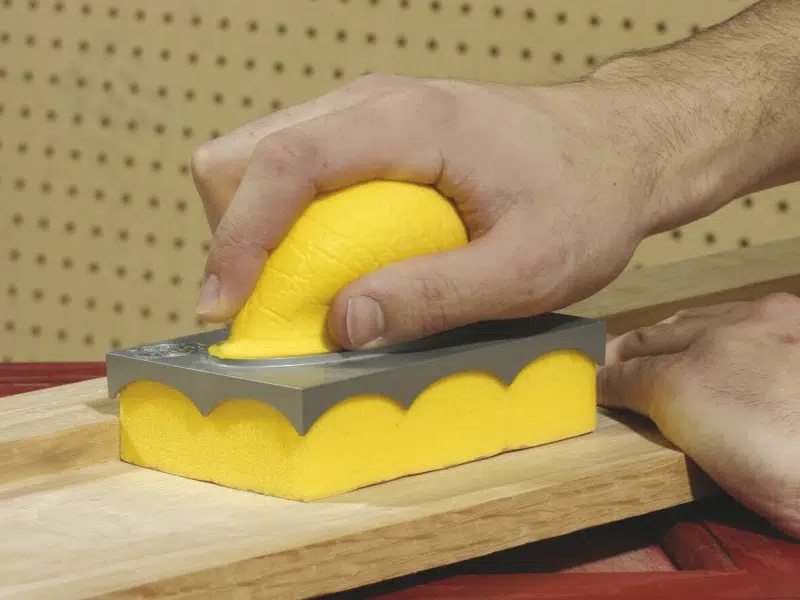
- الاستخدام كتل الصنفرة الرغوية7 أو وسادات ناعمة للضغط المنتظم
- حافظ على السطح والورق مبللاً في جميع الأوقات - اشطفه بشكل متكرر
غالباً ما نقوم بالرمل الرطب باستخدام 2000 حصى تحت الضوء الطبيعي لتحديد المناطق المنخفضة. والهدف من ذلك هو الحصول على صنفرة باهتة ومتساوية تماماً قبل الصقل النهائي.
ما هي الأدوات والمواد المثالية للصنفرة الدقيقة بين طبقات الطلاء؟
تضمن الأدوات المناسبة التآكل المتساوي دون حرق الطبقات أو إحداث أنماط دوامات. في التشطيب شديد اللمعان، الدقة أهم من السرعة.
الأدوات والمواد الموصى بها
✔ كتل الصنفرة الناعمة8
للألواح المسطحة والأسطح الكبيرة. يُستخدم مع الورق الحبيبي 600-1500.
✔ وسادات كاشطة رغوية
رائع للمنحنيات والزوايا والحواف. يمنع الصنفرة خلال المناطق الرقيقة.
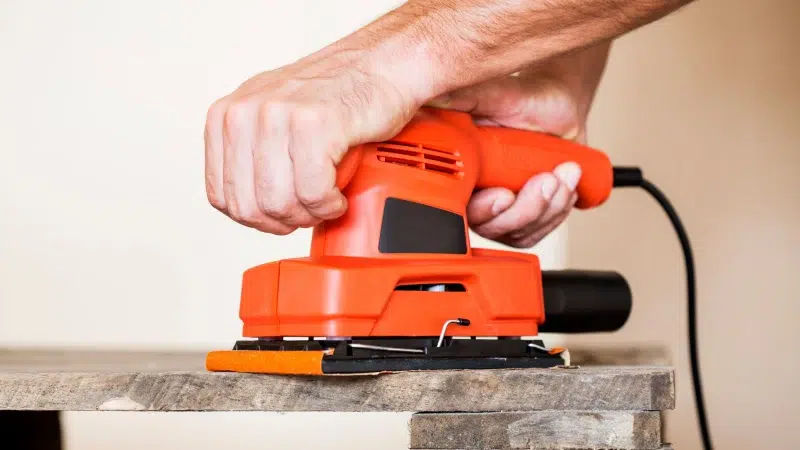
✔ ماكينات الصنفرة المدارية ثنائية الحركة (DA)9
لصنفرة متناسقة وخالية من الدوامات - استخدمها عند عدد دورات منخفض في الدقيقة مع وسادات واجهة.
✔ صفائح ورق الصنفرة المدعمة بفيلم10
تدوم لفترة أطول وتوفر أنماط خدش متساوية (علامات تجارية مثل Mirka أو Indasa).
✔ مناديل قماشية أو مناديل من الألياف الدقيقة
يزيل البقايا بين كل جلسة صنفرة وإعادة طلاء.
نحتفظ بمحطات صنفرة مختلفة لكل حصى لتجنب التلوث. يمكن لخلط جزيئات 800 حصى في 3000 حصى أن يفسد السطح النهائي على الفور.
كيف تتجنب علامات الدوامات أو الخدوش أو الأسطح غير المستوية أثناء الصنفرة؟
حتى أفضل أعمال الطلاء بالورنيش يمكن أن تتلف بسبب سوء تقنية الصنفرة11. الدوامات وضغط متساوٍ12 خلق تشويه في انعكاس الضوء - وهو أمر لن يتغاضى عنه أي عميل فاخر.
أفضل الممارسات لتجنب العيوب السطحية
- قم دائمًا بالرمل دائمًا في خطوط مستقيمة أو أنماط متقاطعة-لا تدور في دوائر أبداً.
- استخدم نظيفة وغير ملوثة وسادات صنفرة13-قم بتغييرها بانتظام.
- اضغط بشكل متساوٍ-لا تضغطي بقوة على الزوايا أو الحواف.
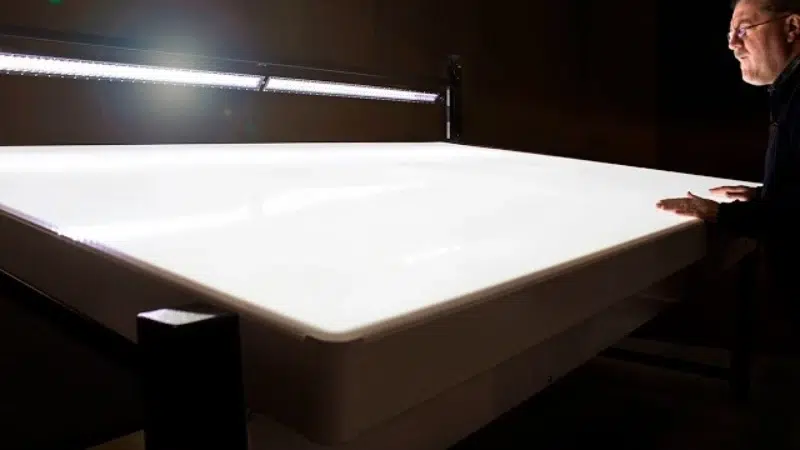
- تحقق من عملك تحت الإضاءة المباشرة—look for inconsistent haze or glossy spots.
- امسح السطح بشكل متكرر لإزالة الطين وجزيئات الغبار.
نقوم بتدريب عمال التشطيبات على تمرير أطراف أصابعهم على السطح كل بضع دقائق. وغالباً ما يكتشف الإحساس العيوب التي تغفلها العين، خاصةً في التشطيبات الداكنة.
ما هي تقنيات الصقل أو التلميع النهائي التي تبرز اللمعان والانعكاس العميق؟
بمجرد اكتمال الصنفرة, مركبات التلميع14 وتُظهر أدوات الصقل والتلميع الوضوح والعمق الكاملين للورنيش. وهنا يظهر تأثير المرآة الحقيقي.
عملية التلميع على 3 مراحل
-
مركب القطع
يزيل الضباب الحبيبي 2000-3000 حصى. يُستخدم مع وسادة القطع الرغوية على الماسحة الدوارة أو الماسحة ذات الحبيبات الرغوية. -
مركب التلميع
صقل السطح للحصول على النقاء. تلميع متوسط السرعة بأقل ضغط ممكن. -
مزيل الدوامات / ملمع اللمسات النهائية15
تنفش يدوياً أو آلياً باستخدام وسادة فائقة النعومة. الخطوة الأخيرة قبل الفحص.
نصائح للمحترفين
✔ الاستخدام وسادات مخصصة لكل مركب-لا تخلط أبداً.
✔ تنظيف الوسادات بالهواء المضغوط بين الاستخدامات.
✔ امسح باستخدام الألياف الدقيقة وليس المناشف الورقية.
✔ ضع طبقة نهائية من طلاء بوليمر زجاجي أو شمع16 لحماية وتعزيز اللمعان.
نقوم بإجراء الفحص النهائي تحت كل من مصابيح LED الدافئة والباردة. إذا بدت خالية من العيوب في كليهما، فهي جاهزة للشحن.
الخاتمة
يتم بناء اللمسة النهائية المرآة على صندوق النبيذ المطلي بطلاء البيانو طبقة تلو الأخرى - وحبيبات تلو الأخرى. إنها عملية الصنفرة التي تحوّل الطلاء شديد اللمعان إلى غاية الفخامة.
لفعلها بشكل صحيح
- اتبع تسلسل حصى متناسق - من 240 حتى 3000+
- استخدم الصنفرة الرطبة للوضوح وإزالة العيوب
- التلميع على مراحل، وليس باختصارات
- الفحص باستمرار تحت إضاءة قوية بزاوية مائلة
في التشطيبات الفاخرة، ما يراه العميل هو نصف القصة فقط. النصف الآخر هو ما فعلته بين كل طبقة وأخرى.
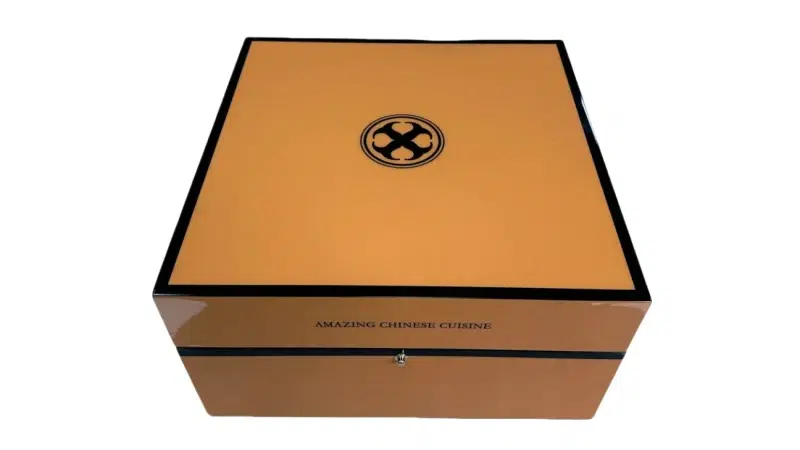
اسم العلامة التجارية: وودوبوكس
الشعار: صناديق خشبية مصممة حسب الطلب، مصنوعة بإتقان
الموقع الإلكتروني: www.woodobox.com
-
إن فهم عملية الحصول على تشطيب البيانو الذي يشبه المرآة يمكن أن يعزز مهاراتك ونتائجك في النجارة. ↩
-
إن فهم حبيبات الصنفرة الصحيحة أمر بالغ الأهمية للحصول على تشطيبات نهائية خالية من العيوب. استكشف هذا الرابط للحصول على نصائح وتقنيات الخبراء. ↩
-
التلميع هو مفتاح الحصول على مظهر نهائي كالمرآة. تعرّف على أفضل الممارسات والمنتجات التي يجب استخدامها للحصول على نتائج مذهلة. ↩
-
يمكن أن تعزز الإسفنجات الكاشطة من عملية الصنفرة. اكتشف مزاياها وكيفية استخدامها بفعالية. ↩
-
استكشف مزايا الصنفرة الرطبة لتحسين تقنيات تشطيب الأسطح والحصول على مظهر مثالي لا تشوبه شائبة. ↩
-
اكتشف ورق الصنفرة المقاوم للماء الأعلى تقييماً الذي يمكن أن يرفع من نتائج الصنفرة الرطبة ويضمن لك الحصول على لمسة نهائية ناعمة. ↩
-
تعلّم كيف يمكن أن توفر كتل الصنفرة الرغوية تحكماً أفضل وضغطاً متساوياً أثناء الصنفرة الرطبة للحصول على نتائج فائقة. ↩
-
استكشف مزايا كتل الصنفرة الناعمة للحصول على لمسة نهائية ناعمة دون الإضرار بالسطح. ↩
-
تعرّف على كيف يمكن لماكينات الصنفرة المدارية DA Orbital Sanders توفير نتائج متسقة وخالية من الدوامات لمشروعاتك. ↩
-
اكتشف سبب تفضيل صفائح ورق الصنفرة المدعوم بغشاء من أجل المتانة وحتى أنماط الخدش في أعمال النجارة. ↩
-
يمكن أن يؤدي فهم تقنيات الصنفرة الفعالة إلى تحسين مهاراتك في التشطيب بشكل كبير ومنع العيوب السطحية. ↩
-
يمكن أن يساعدك التعرف على أهمية الضغط المتساوي في الحصول على لمسة نهائية خالية من العيوب وتجنب الأخطاء الشائعة. ↩
-
يمكن أن يؤدي اكتشاف الصيانة المناسبة لوسادات الصنفرة إلى تحسين كفاءة الصنفرة وجودة العمل. ↩
-
استكشف هذا الرابط لاكتشاف أفضل مركبات التلميع التي تعزز اللمعان والوضوح، مما يضمن لك الحصول على لمسة نهائية مثالية لمشاريعك. ↩
-
تعلّم كيف يمكن لمزيل الدوامات أن يزيل الشوائب ويرتقي بطلاء الطلاء إلى مستوى احترافي. ↩
-
اكتشف كيف يمكن لمواد التزجيج والشمع المصنوعة من البوليمر أن تحمي الطلاءات النهائية وتعززها، مما يضمن لك طول العمر واللمعان. ↩